Looking for something to accompany the passing day? Let’s try these cheese biscuits that will make us wish the day to stay!

Homemade biscuits are a staple in many households, particularly in the southern United States. With their flaky texture and buttery flavor, biscuits are a favorite for breakfast or as a side dish for a hearty meal. In this essay, we will delve into the history of homemade biscuits and how they have evolved over time.
What are the origins of homemade biscuits?
The origins of biscuits can be traced back to ancient times, where they were first created as a form of unleavened bread. As people began to experiment with different ingredients, they discovered that adding leavening agents such as baking powder could create a lighter and fluffier texture. The first recorded recipe for biscuits dates back to the 18th century in the United States, where they quickly became a popular food among the working-class.
Homemade biscuits have become an important part of southern cuisine, with variations that reflect the unique cultural and regional differences of the area. Southern biscuits are typically made with flour, butter, baking powder, and buttermilk, and are often served with gravy or jam.
One famous story associated with homemade biscuits is that of Martha Washington, the wife of the first President of the United States, George Washington. It is said that Martha was known for her excellent baking skills and would often prepare biscuits for her husband’s soldiers during the Revolutionary War. The soldiers would eagerly look forward to her visits, as her biscuits were considered a rare treat in the harsh conditions of the war.
But what is it that makes homemade biscuits so special?
Is it the buttery flavor or the flaky texture? Perhaps it’s the simplicity of the ingredients that allow the flavor to shine through. Whatever the reason may be, it’s clear that homemade biscuits have stood the test of time and continue to be a beloved food in many households.
Ingredients
- ½ cup / 100ml Milk or water
- ½ oz / 15g Fresh yeast
- 5 cup / 600g Plain flour
- 3 pieces / 160g Eggs
- 7 oz / 200g Sour cream
- 1 teaspoon / 5g Salt
- 8 tablespoons / 100g Butter
- 7 oz / 200g Cheese (Edam, Gouda, Masdaam)
- 2 pieces / 50g Egg yolk for eggwash
How to make Cheese biscuits
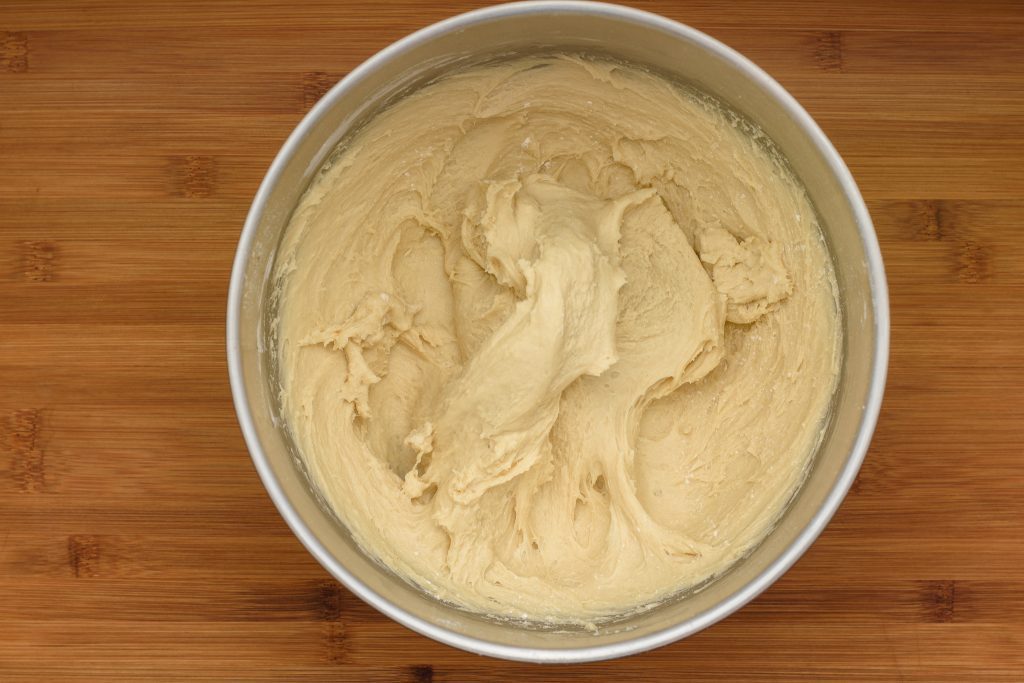
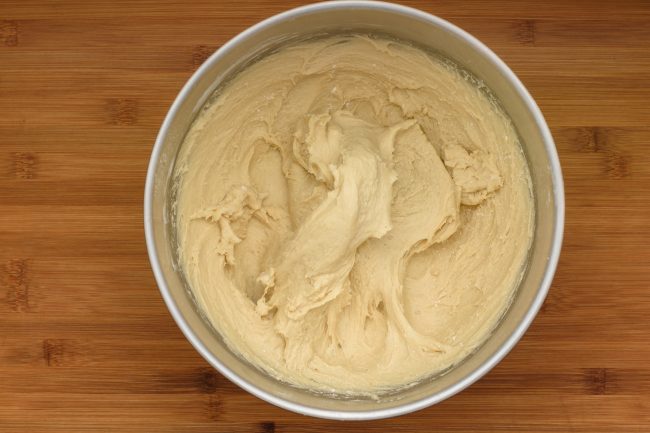
- Knead milk, crumbled fresh yeast, flour, eggs, sour cream, and a pinch of salt.

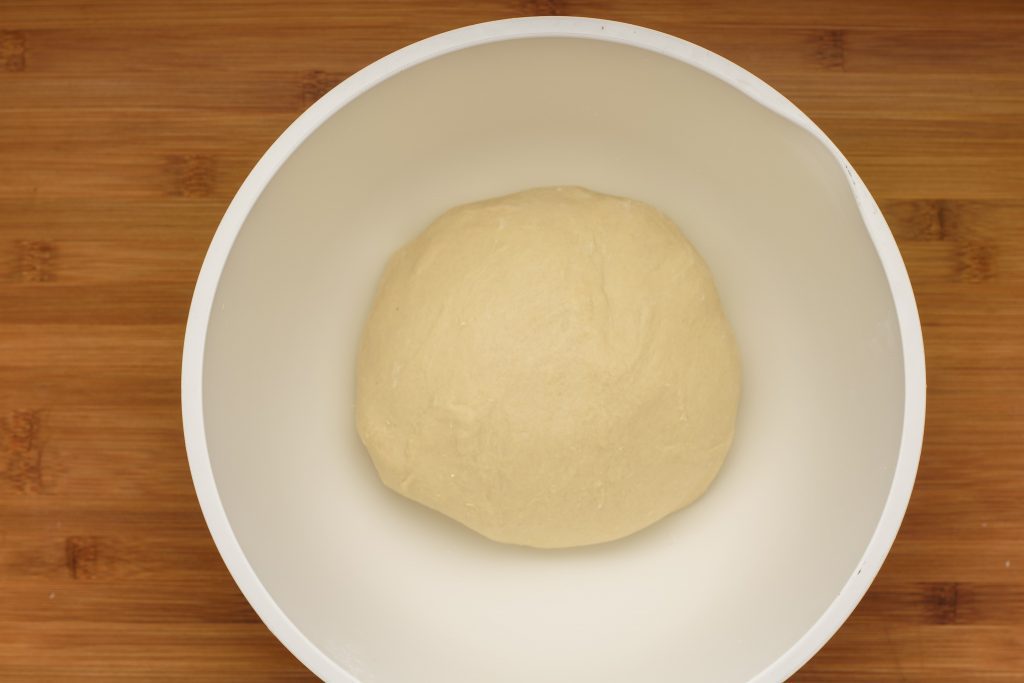
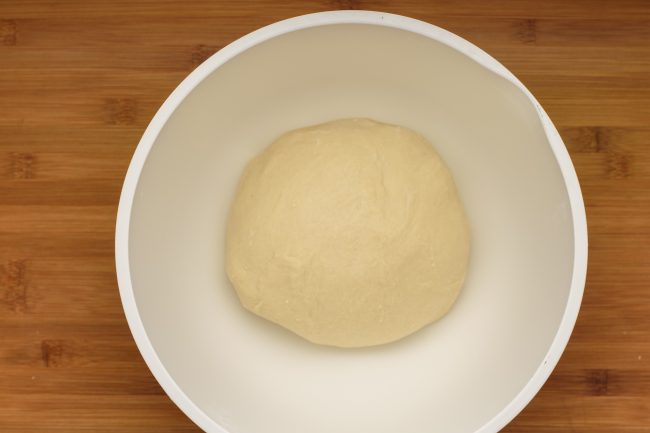
- Gather the dough into a ball.

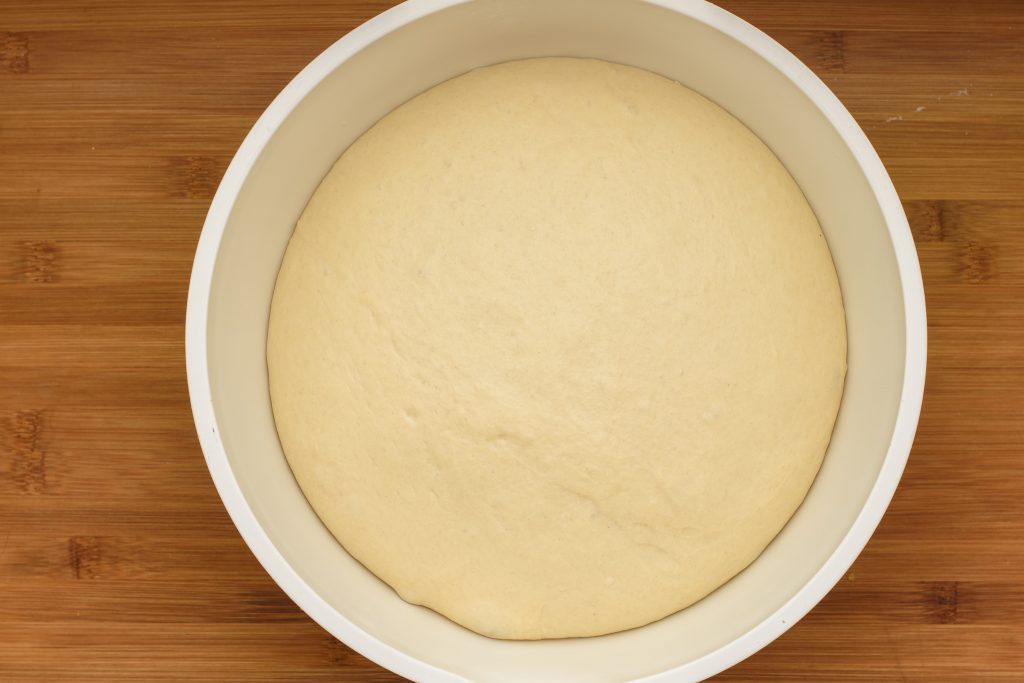
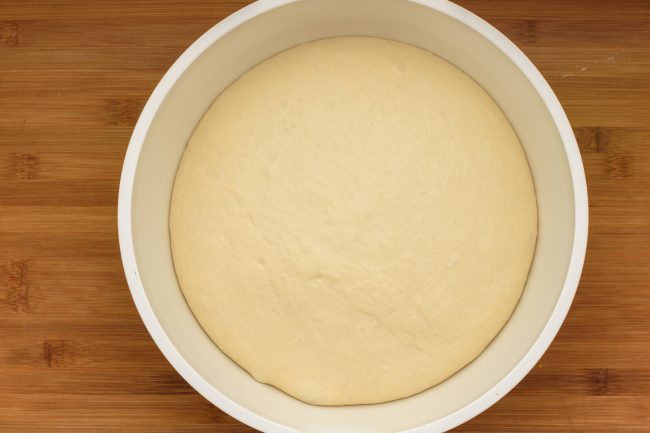
- Cover the bowl and leave it in a 68°F – 81°F /20°C – 27°C temperature place for half an hour to raise. If in doubt check How to bake with yeast.

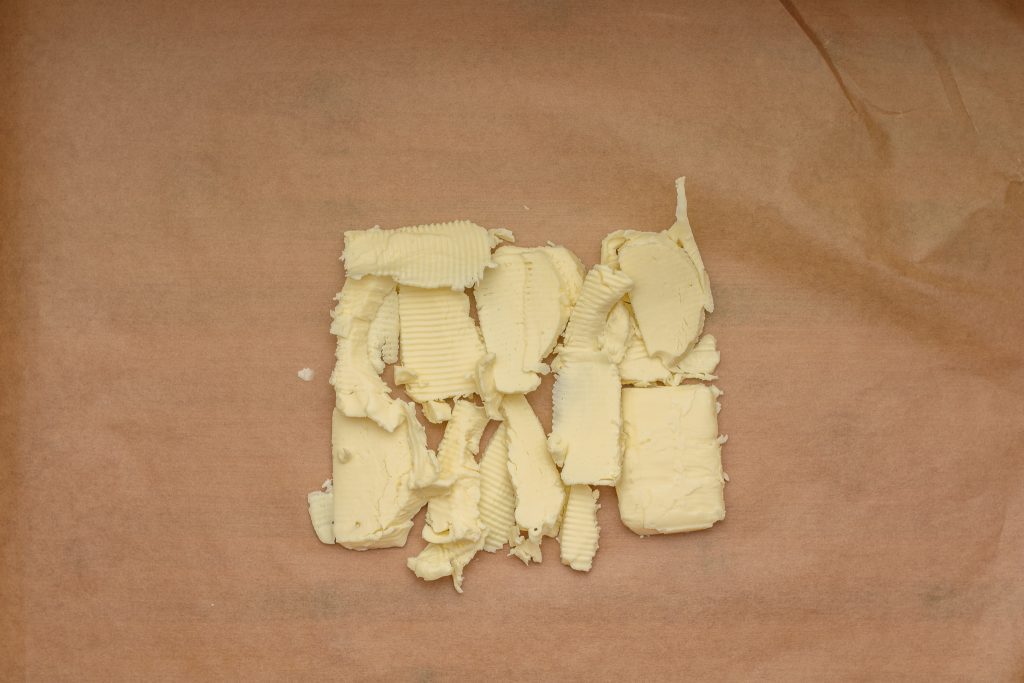
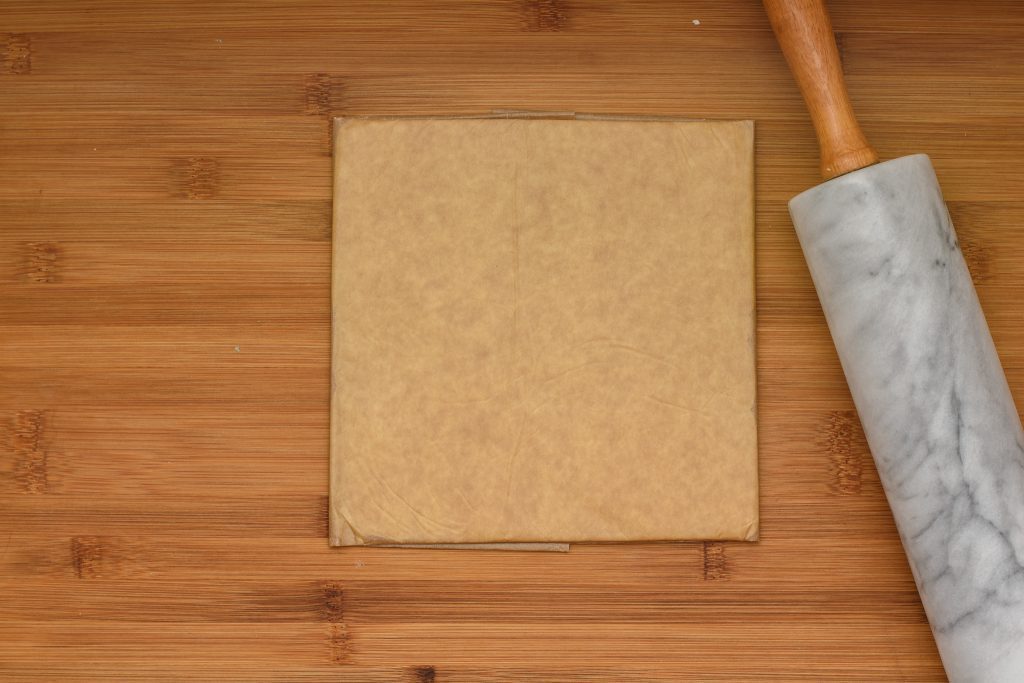
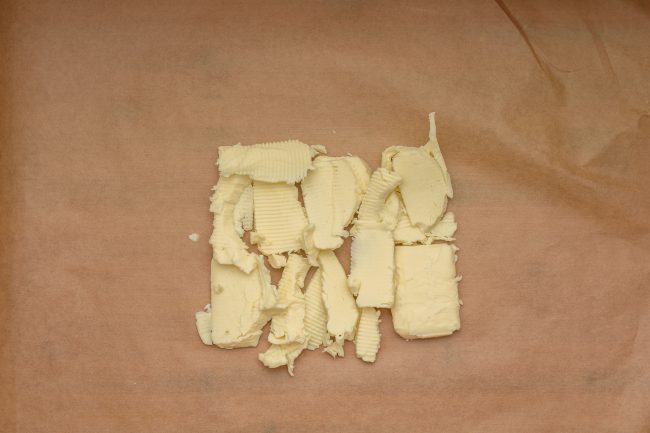
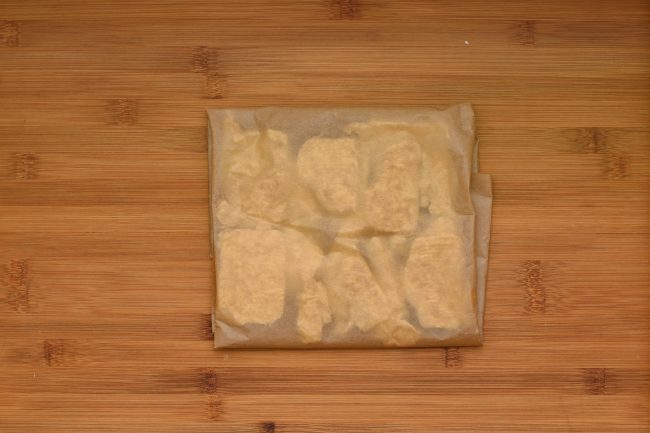
- Prepare the butter that will separate the layers from each other like in a croissant. Take a big enough parchment paper and place the sliced up butter in a 8″ x 8″ / 20cm x 20cm square.

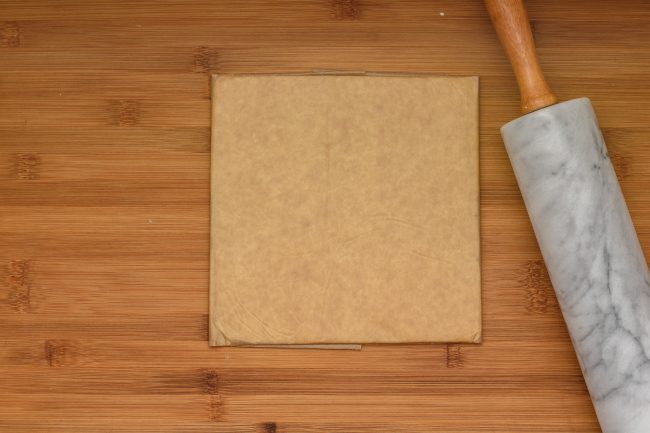
- Pack the butter in by folding the sides of the parchment paper on then turn it upside down.

- Spread the butter into a nice squarish shape with a rolling pin by gently hitting the butter and rolling to all corners.

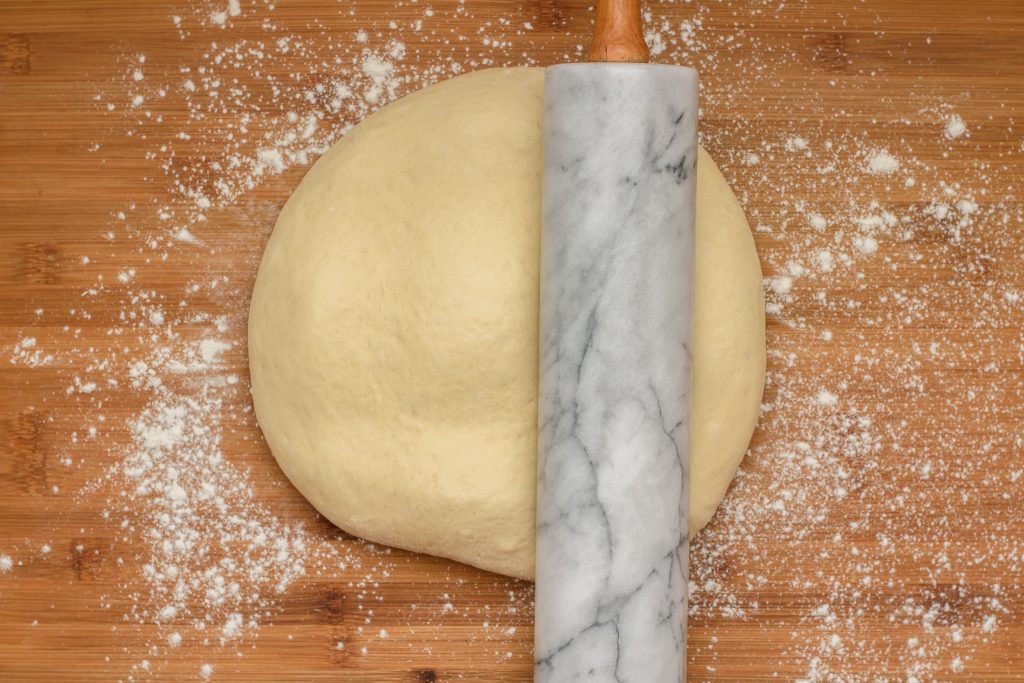
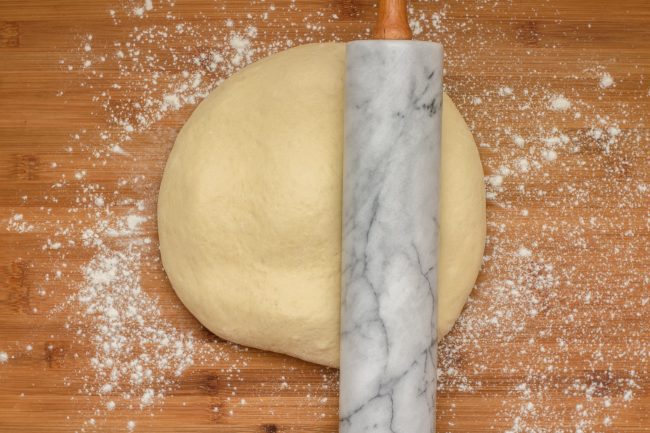
- Spread flour onto the surface before laying the risen dough on it. To prepare the dough for a square shape flattening press the rolling pin on top of the dough vertically and horizontally to create bumps.

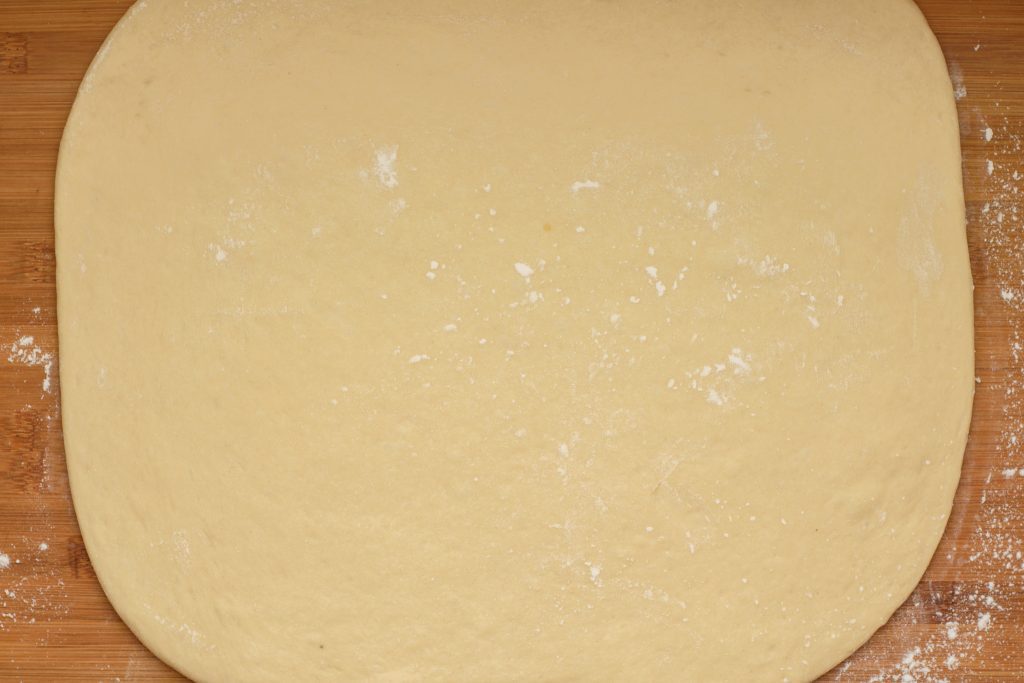
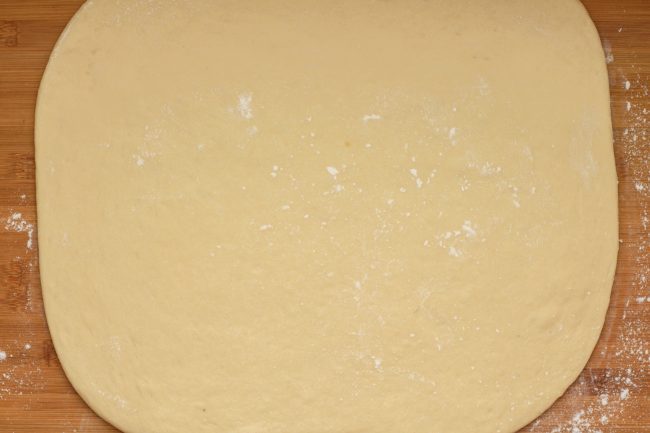
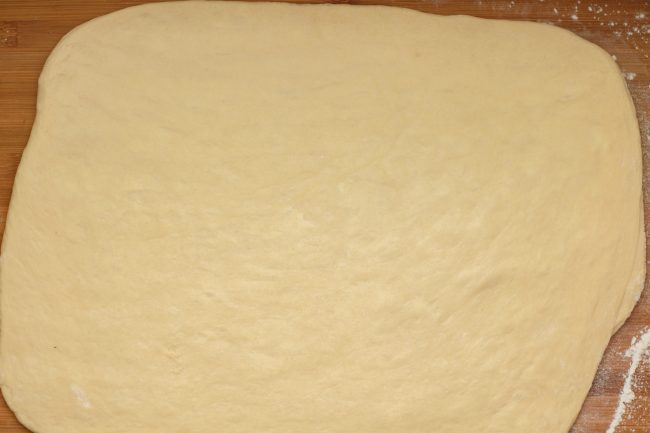
- Flatten the dough with a rolling pin by starting rolling out from the middle of the dough through the corners first into a 10″ / 30cm wide square.

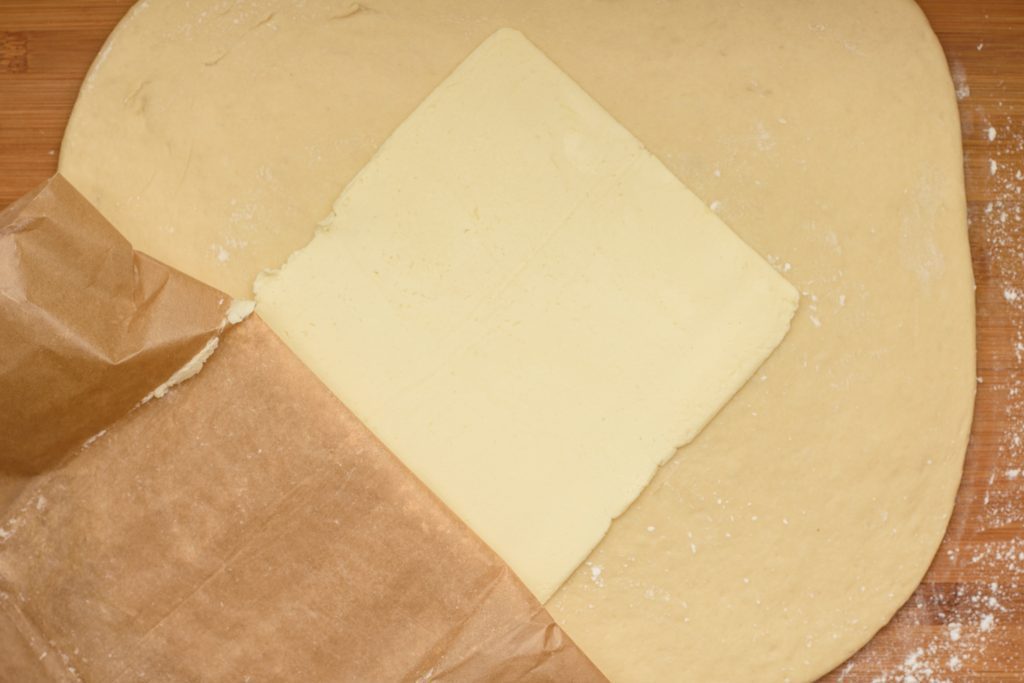
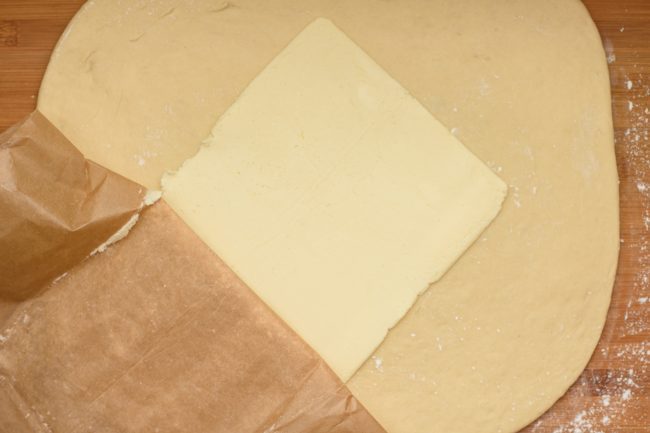
- Place the butter square on top of the flattened dough in a way that the corners do not align with the corners of the dough but point to the middle of the dough’s side. Peel off the parchment paper. Alternatively the butter can be spread on top of the dough given that it’s soft enough to be spread. Mind not to apply too much pressure to the dough at this stage as it can stick to the worktop.

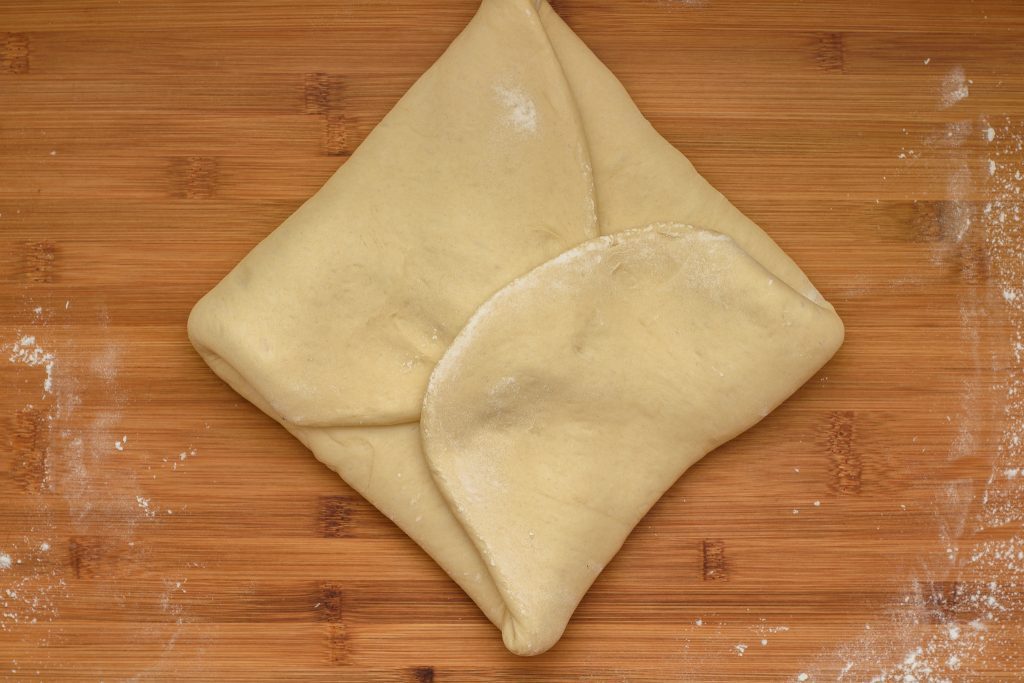
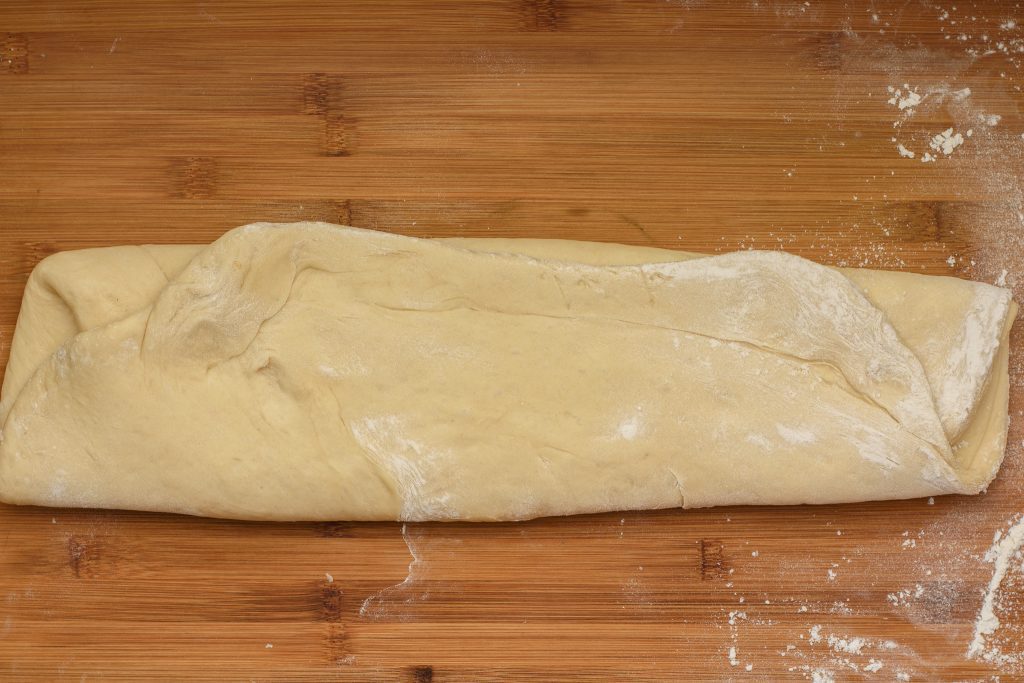
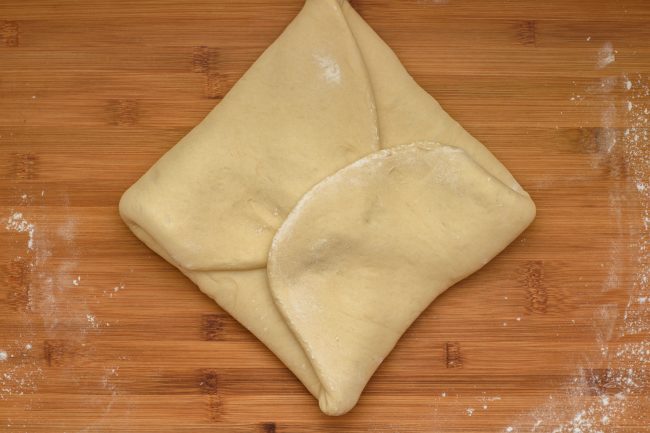
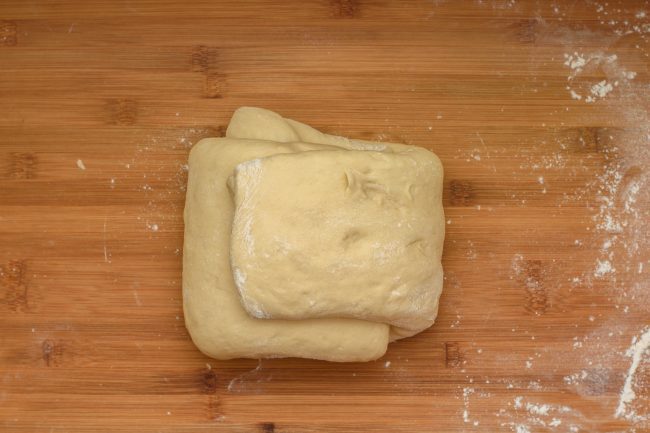
- Pack the butter in by folding two opposite corners of the dough into the middle. Then fold the other two corners in the same way, making it an envelope.

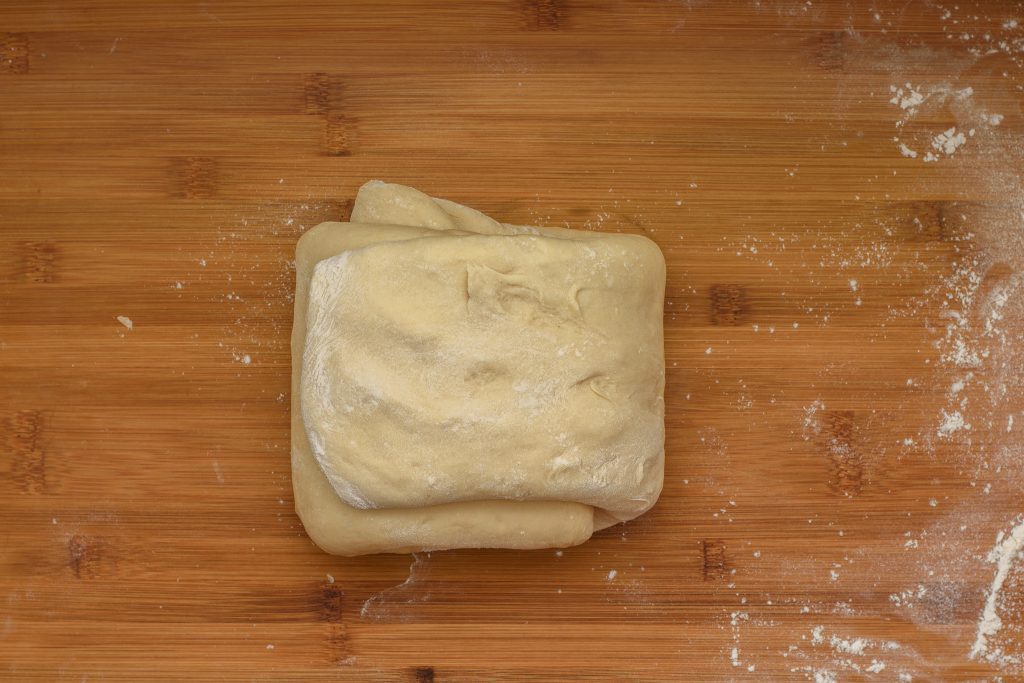
- Fold the dough in half along one side.

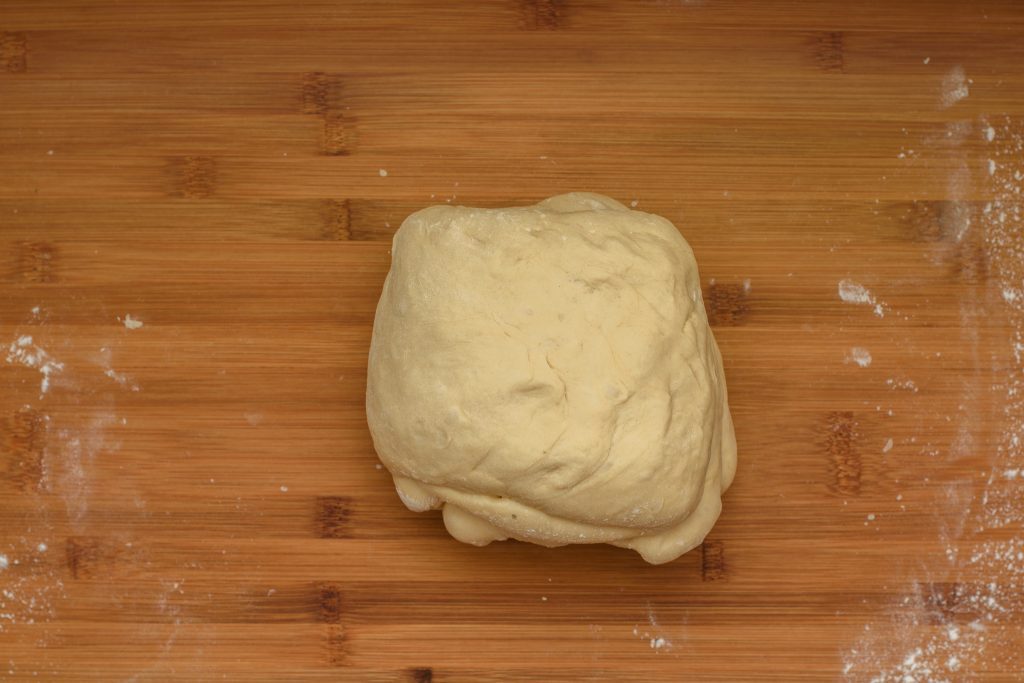
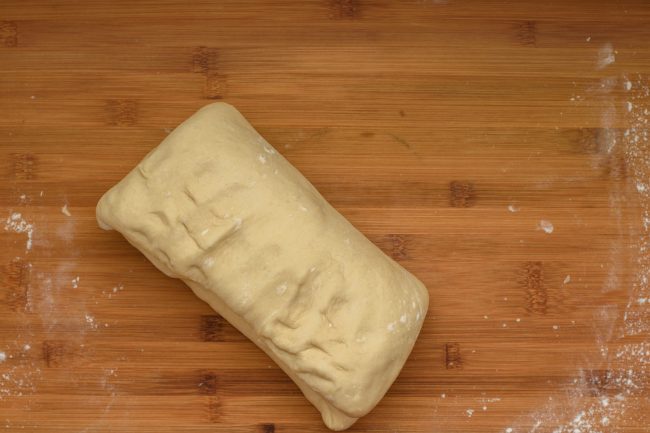
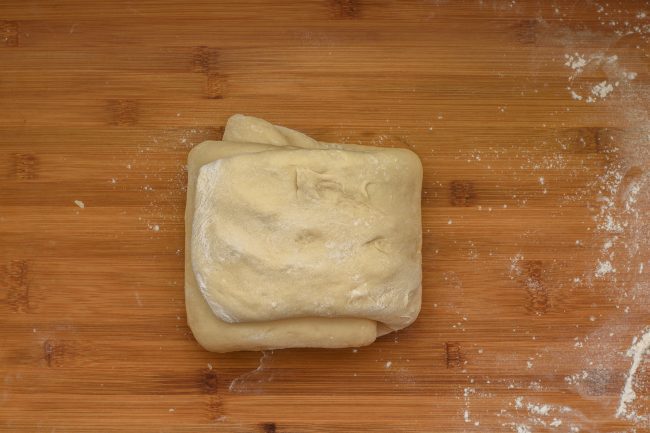
- Then fold it into half along the other side as well, essentially creating a small but taller squarish shape.

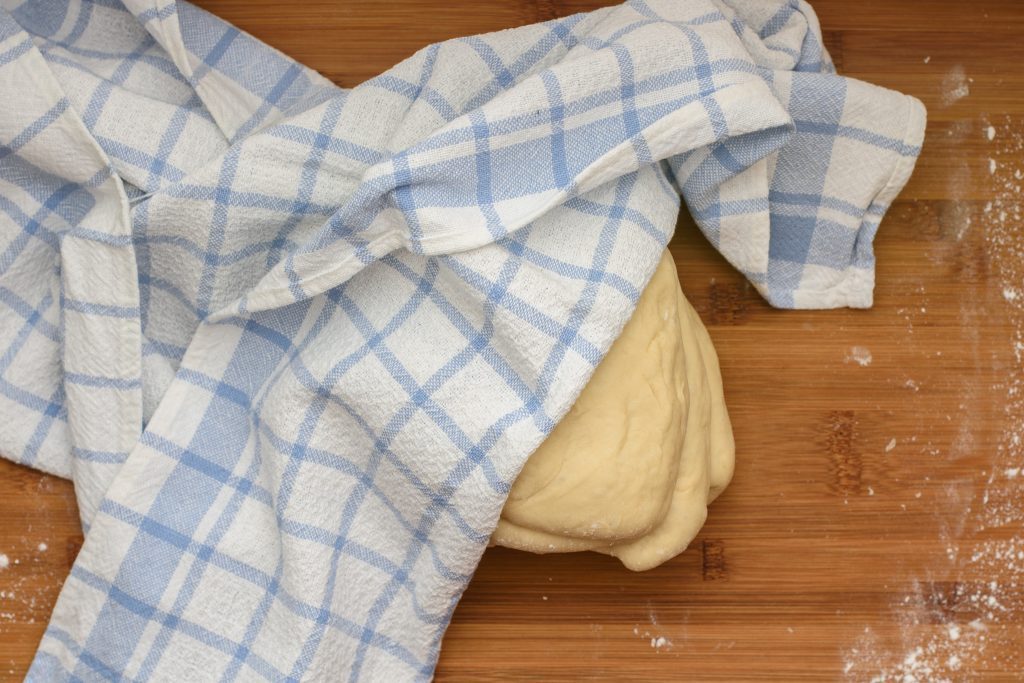
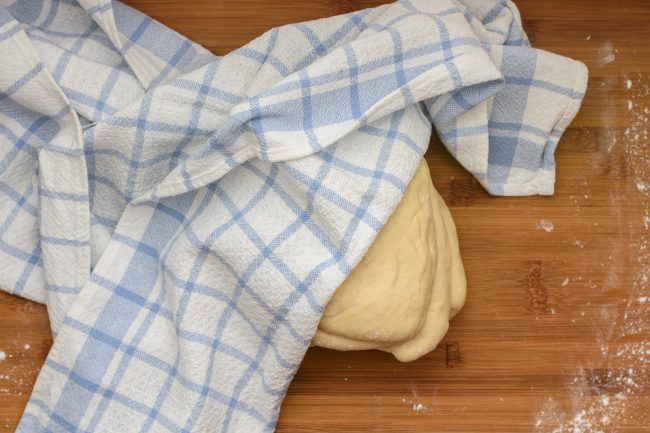
- Cover it with a clean cloth and leave it in a 68°F – 81°F /20°C – 27°C temperature place to rise for another 20 minutes.

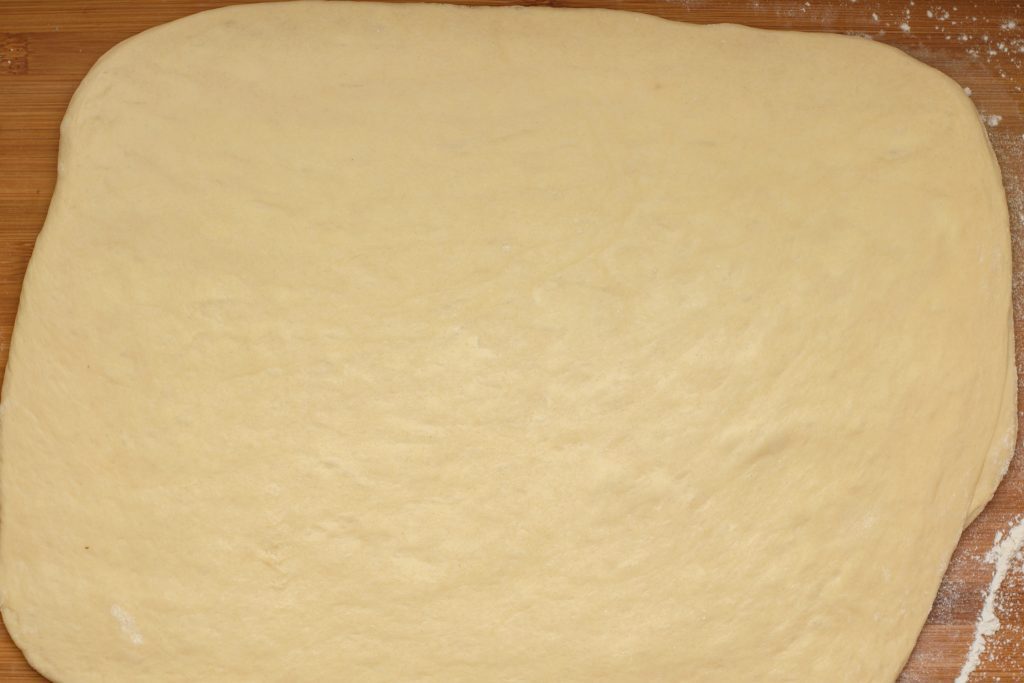
- After 20 minutes roll the dough with a rolling pin onto a squarish shape again.

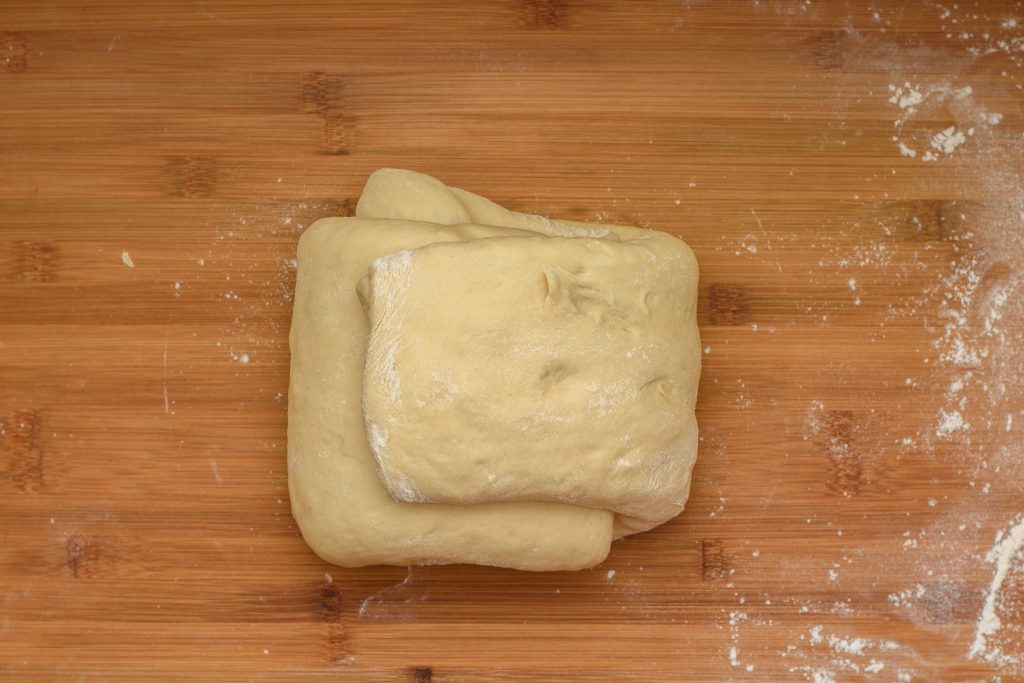
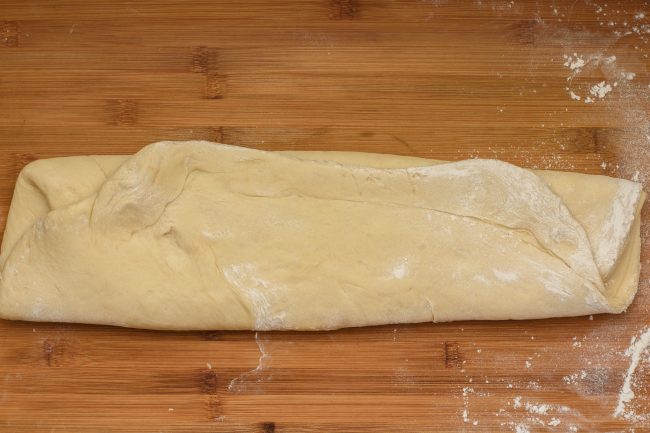
- Fold one third of the dough up and the other third down horizontally.

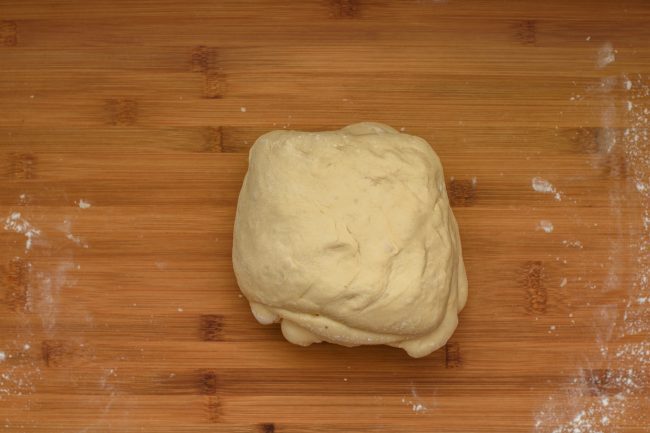
- Fold one third of the dough right and the other third of the dough to the left vertically.

- Cover it with a clean cloth and leave it in a 68°F – 81°F /20°C – 27°C temperature place to rise for another 20 minutes.

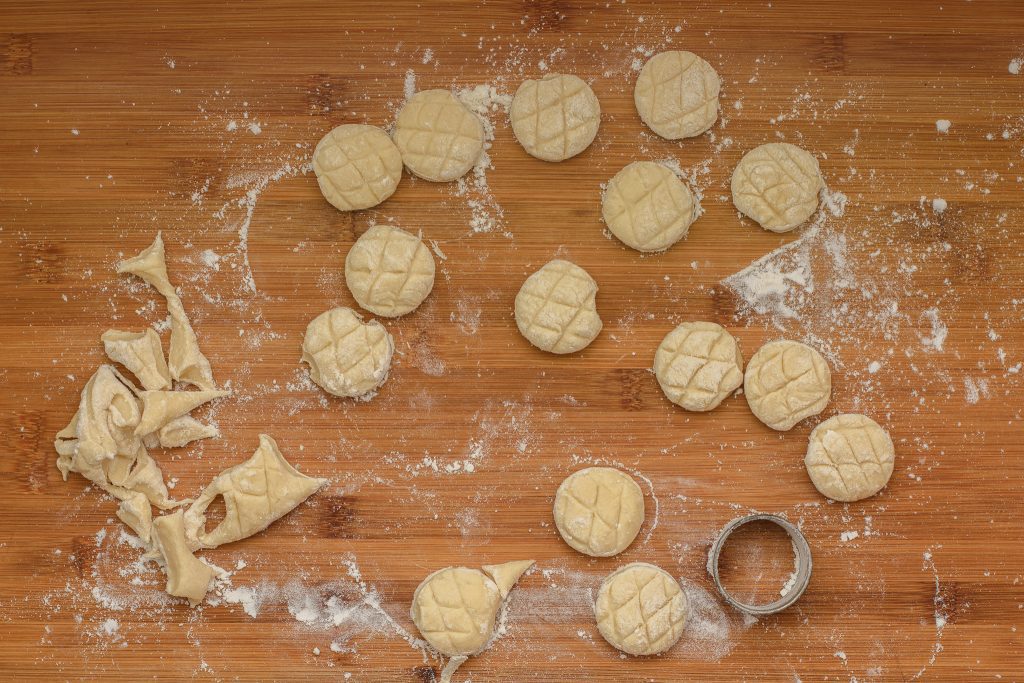
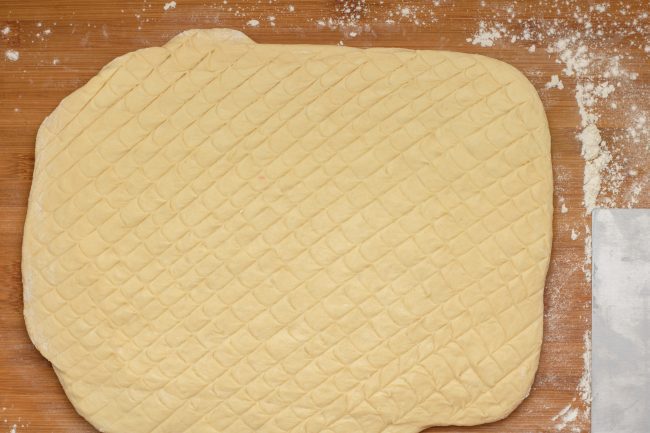
- After 20 minutes, on a well floured surface, roll the dough out to 1″ / 2.5 cm width. The actual shape doesn’t matter now. With a sharp knife draw lines across the surface.

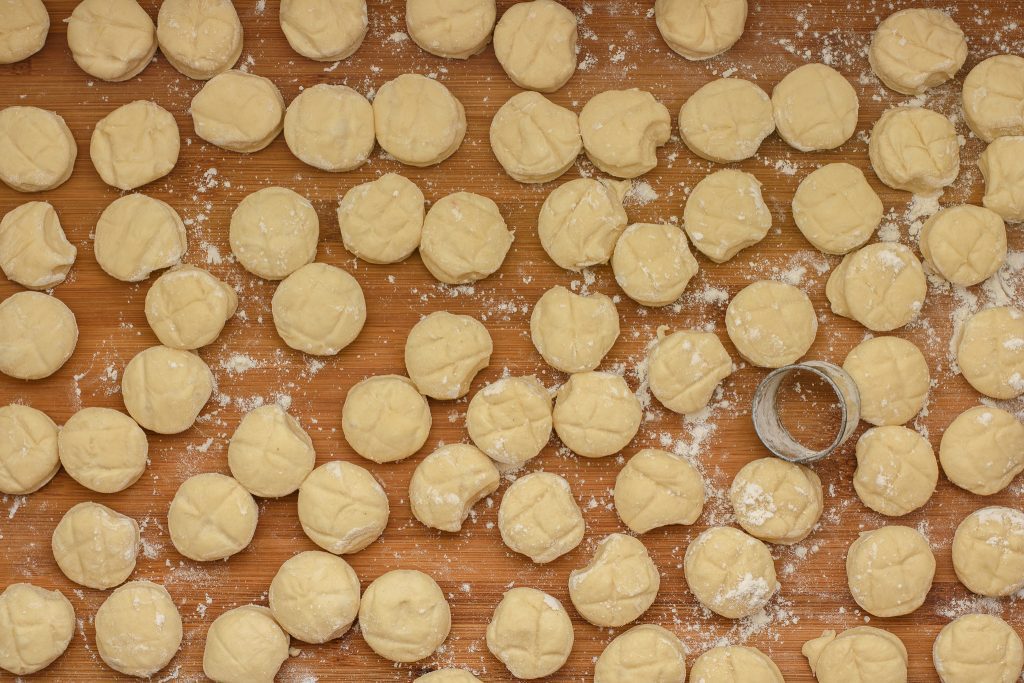
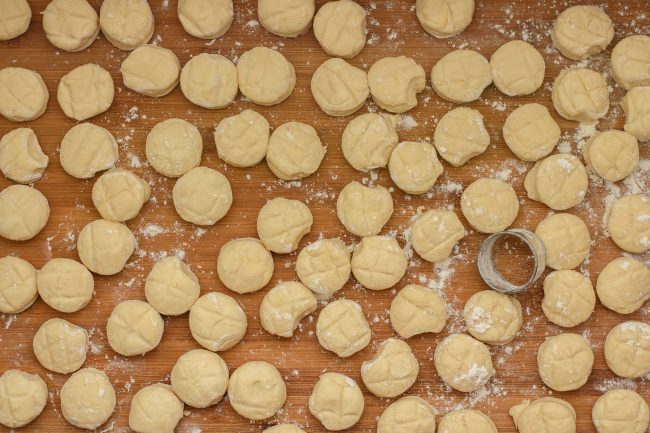
- Flour a round cookie cutter (Size depends on how big or small we want the scones.) Cut scones out of the dough and place them on a parchment paper lined baking sheet. Place them apart and leave some space between the scones as they are going to grow bigger.

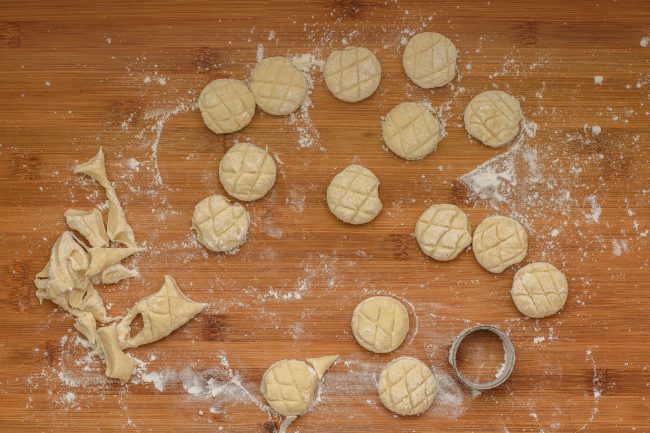
- Due to the shape of the biscuits there will be leftover dough all over the place. Try to minimize it but waste nothing. Rework the leftover into a new ball, roll it out again. If it’s possible let it raise, if not just roll it out again and make biscuits from it too.

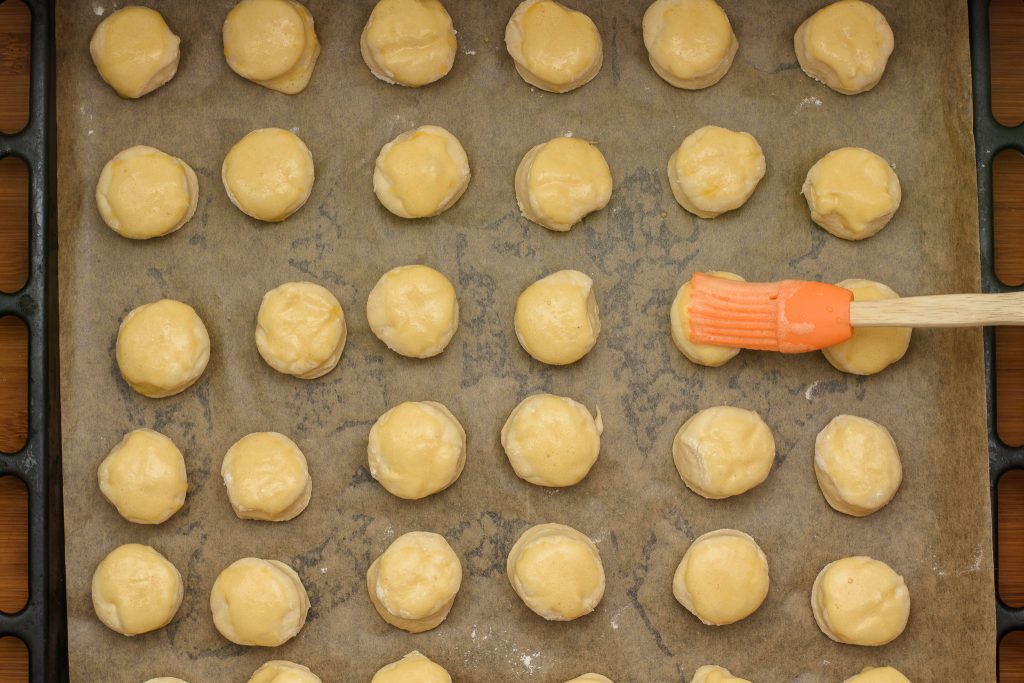
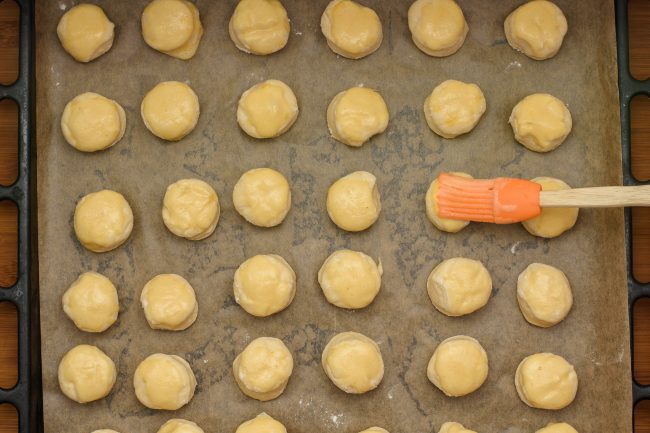
- Beat egg yolks and brush the egg wash on top of the scones.

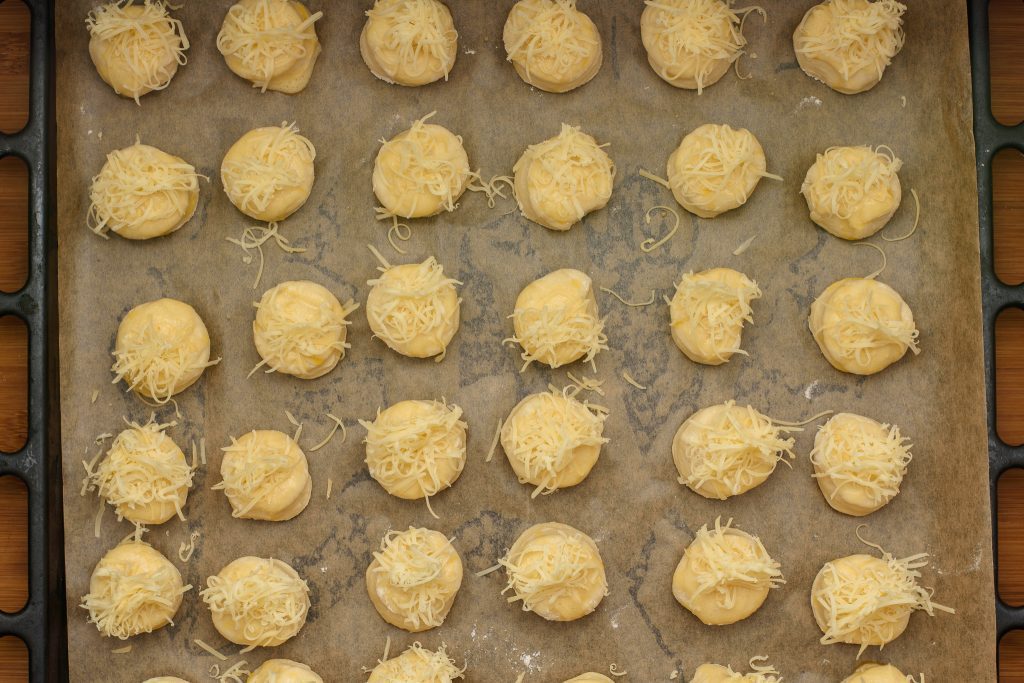
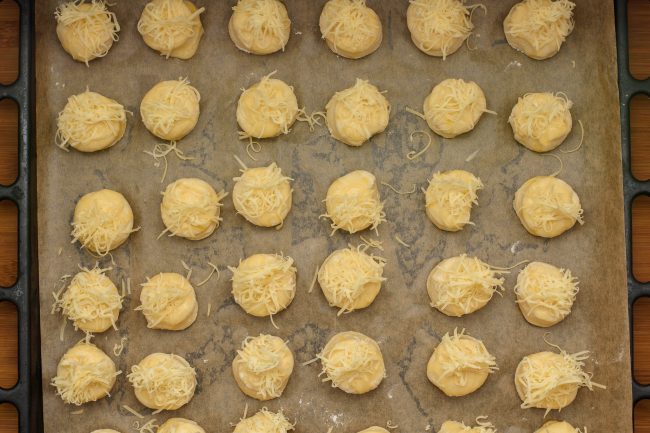
- Grate the cheese and put it on top of each scones. Use the fine cheese shredder for finer results.

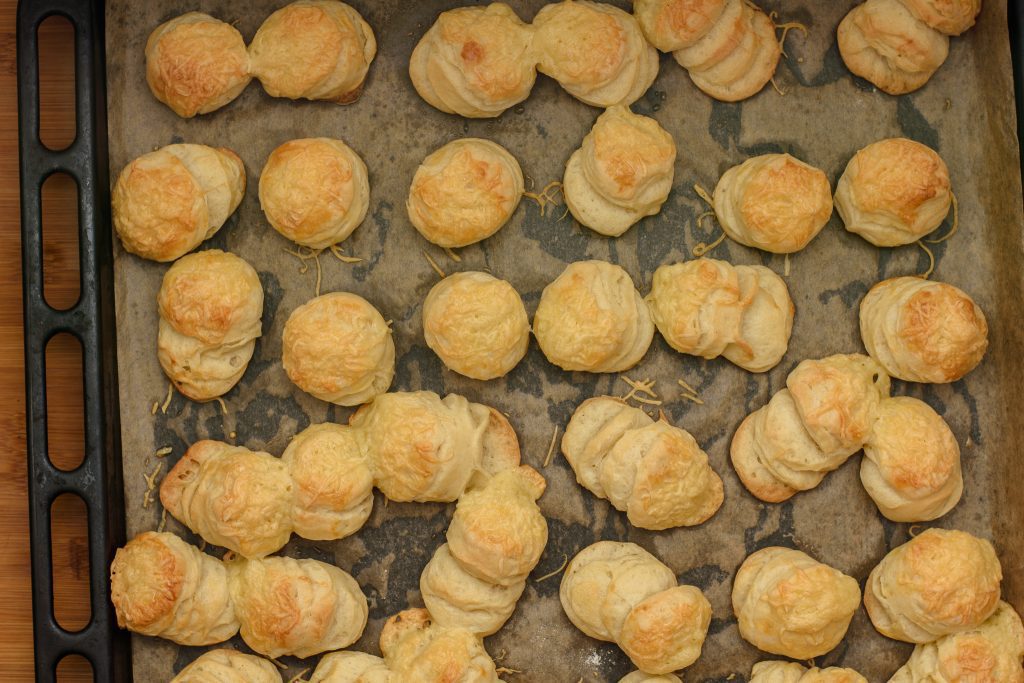
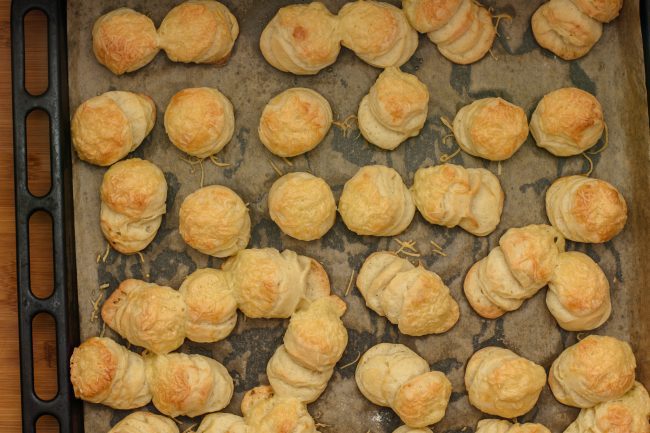
- Put tray into preheated 356°F / 180°C oven for 20-25 minutes. Take cheese scone out when golden brown.

Enjoy!

F.A.Q.
How cheese scones rise?
Cheese scones rise from the added rising agents such as baking powder or yeast. These scones use fresh yeast as a leavening agent which can be a bit trick first but done right provide fabulous results.
Do scones have a lot of sugar?
Most store bought scones contain added sugar but our cheese scones have no added sugar in them at all.


Star this recipe!
Light and Fluffy Cheese Biscuits
Ingredients
- ½ cup Milk or water
- ½ oz Fresh yeast
- 5 cup Plain flour
- 3 medium Eggs
- 7 oz Sour cream
- 1 teaspoon Salt
- 8 tablespoons Butter
- 7 oz Cheese Edam, Gouda, Masdaam
- 2 pieces Egg yolk for eggwash
Instructions
- Knead milk, crumbled fresh yeast, flour, eggs, sour cream, and a pinch of salt.

- Gather the dough into a ball.

- Cover the bowl and leave it in a 68°F – 81°F /20°C – 27°C temperature place for half an hour to raise. If in doubt check How to bake with yeast.

- Prepare the butter that will separate the layers from each other like in a croissant. Take a big enough parchment paper and place the sliced up butter in a 8" x 8" / 20cm x 20cm square.

- Pack the butter in by folding the sides of the parchment paper on then turn it upside down.

- Spread the butter into a nice squarish shape with a rolling pin by gently hitting the butter and rolling to all corners.

- Spread flour onto the surface before laying the risen dough on it. To prepare the dough for a square shape flattening press the rolling pin on top of the dough vertically and horizontally to create bumps.

- Flatten the dough with a rolling pin by starting rolling out from the middle of the dough through the corners first into a 10" / 30cm wide square.

- Place the butter square on top of the flattened dough in a way that the corners do not align with the corners of the dough but point to the middle of the dough's side. Peel off the parchment paper. Alternatively the butter can be spread on top of the dough given that it's soft enough to be spread. Mind not to apply too much pressure to the dough at this stage as it can stick to the worktop.

- Pack the butter in by folding two opposite corners of the dough into the middle. Then fold the other two corners in the same way, making it an envelope.

- Fold the dough in half along one side.

- Then fold it into half along the other side as well, essentially creating a small but taller squarish shape.

- Cover it with a clean cloth and leave it in a 68°F – 81°F /20°C – 27°C temperature place to rise for another 20 minutes.

- After 20 minutes roll the dough with a rolling pin onto a squarish shape again.

- Fold one third of the dough up and the other third down horizontally.

- Fold one third of the dough right and the other third of the dough to the left vertically.

- Cover it with a clean cloth and leave it in a 68°F – 81°F /20°C – 27°C temperature place to rise for another 20 minutes.

- After 20 minutes, on a well floured surface, roll the dough out to 1" / 2.5 cm width. The actual shape doesn't matter now. With a sharp knife draw lines across the surface.

- Flour a round cookie cutter (Size depends on how big or small we want the scones.) Cut scones out of the dough and place them on a parchment paper lined baking sheet. Place them apart and leave some space between the scones as they are going to grow bigger.

- Due to the shape of the biscuits there will be leftover dough all over the place. Try to minimize it but waste nothing. Rework the leftover into a new ball, roll it out again. If it's possible let it raise, if not just roll it out again and make biscuits from it too.

- Beat egg yolks and brush the egg wash on top of the scones.

- Grate the cheese and put it on top of each scones. Use the fine cheese shredder for finer results.

- Put tray into preheated 356°F / 180°C oven for 20-25 minutes. Take cheese scone out when golden brown.

Notes
Pin now, Enjoy later!





This gonna be just perfect for today’s football game!
I followed recipe exactly but when I took them out of the oven they were completely flat as a pancake what a waste of ingredients won’t be using again
Really sorry to hear that it didn’t turn out to be right. It seems that the yeast has gone bad and didn’t raise the dough. Sadly, this happens sometimes but we can make sure the yeast is working as it should by proofing it. Here are a couple of useful tips for baking with fresh yeast: https://www.suncakemom.com/knowledgebase/how-to-bake-with-yeast/
It’s never enough…