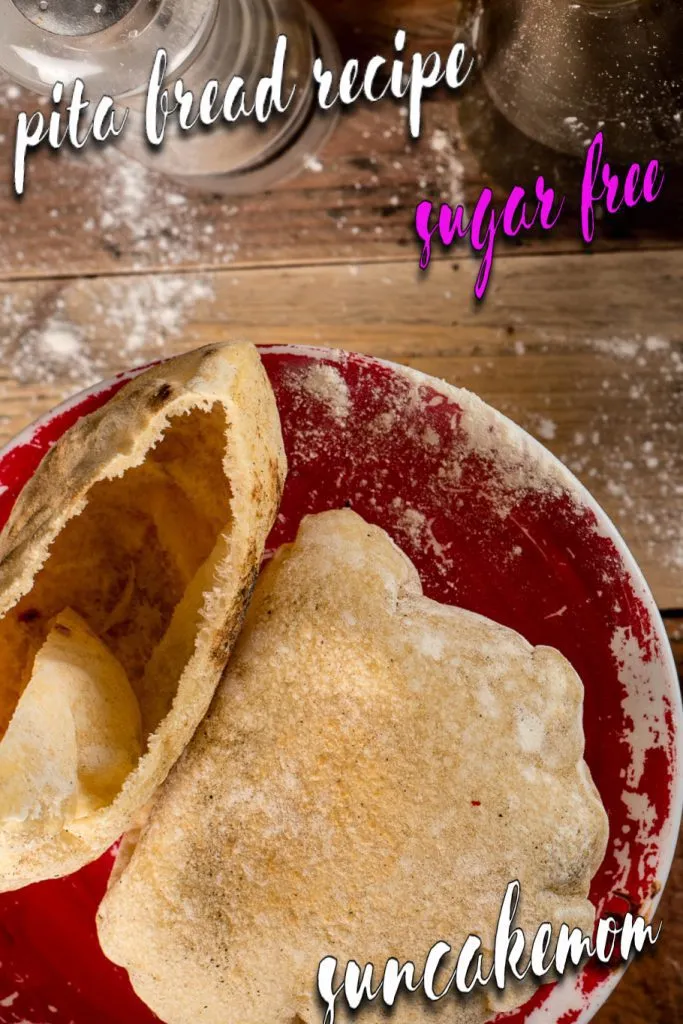
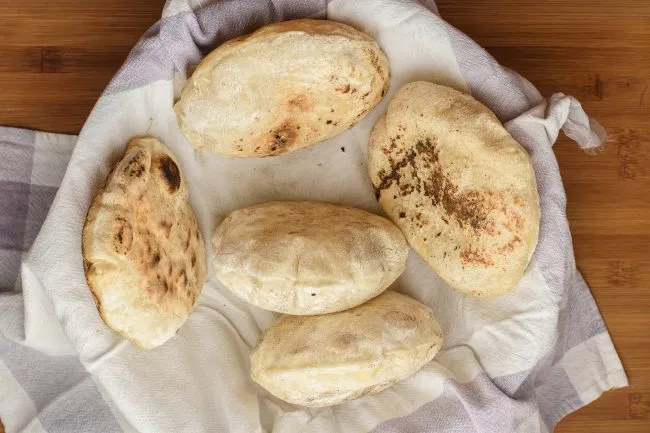
Dreaming about making pita at home for ages or just driven by a sudden impulse to glorify the day? This pita bread will please both!
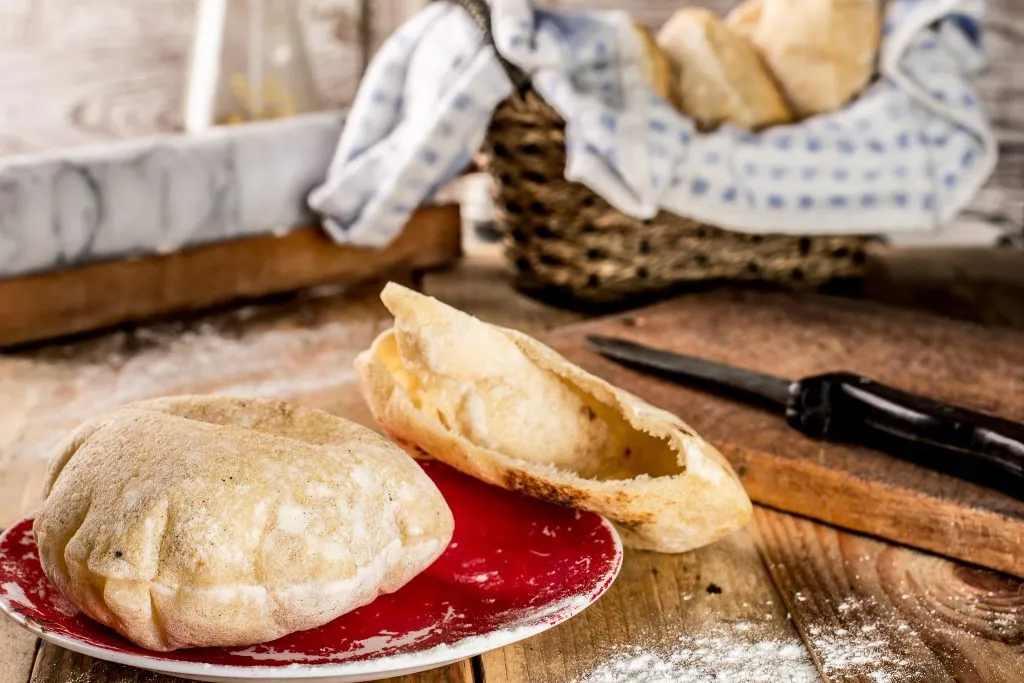
First pitas had no distinctive meaning as much as today. Originally it was only meant to be some kind of bread, cake, pie or anything really that was leavened by fermentation, like pizza. In fact, the ingredients to pizza and pita bread are identical, only the preparation and baking method differs.
Are pitas sensitive beings?
The dough itself can be used to make pizza if there is some sauce to spread on top or go with the simpler pita bread.
Pitas aren’t picky about where to make them. We can bake them in the oven or on the stove top in a humble cast iron skillet.
Depending on the type of pita we prepare, the exact methods can differ. Some pitas are used as a wrap while others are expected to puff up, creating a pocket to fill all sort of things like gyro meat, salad, and tzatziki sauce inside.
How to puff pitas?
Making them puff is a bit of an art, like pizza making but with a bit of practice, it can be learnt. Puffing is caused by the dough’s water content turning into steam to elevate the dough.
Prerequisite of the whole process is to create a solid, continuous, yet somewhat flexible layer of crust on top of the dough, so the steam is trapped inside and forced to separate the dough, creating a big air pocket. If for any reason the insulating crust is damaged, the steam escapes and the pita never puffs.
Where to make pitas?
In our simple kitchen oven, we have little control over the baking process as we just throw the flattened dough in there and hope for the best.
We have more control if we make the pitas on the stove top but that also means more work, possibility to failure and at the same time improvements. While in the oven, we simply set the temperature to the highest possible settings and we are good to go.
Standing at the burner, we have to find the optimal temperature that doesn’t take too long to create a crust and dries out the dough. Yet, it isn’t too hot to burn the dough black, creating holes where the steam can escape.
How to learn making pita bread?
If we start out with a medium to high temperature, a big enough batch of dough and some faith in that is everything good around us, we can find the perfect settings that works on our stove in a couple of pitas time.
Luckily, not puffed-up pitas are still edible as long as we haven’t scorched them black entirely or we didn’t come up with the great sounding idea of trying to puff them up, once the correct puffing up technique is learnt. Admitting defeats, learning from mistakes and applying the knowledge in the future – not baking the pita twice- is the key to deliciousness.
How are pitas made on the stove top?
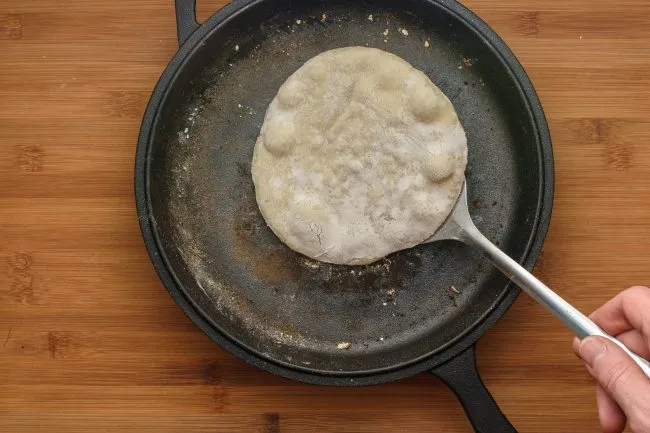
Making the pitas on the stove top requires us to flip them. The first flip should be quite early, a couple of dozens seconds into the making. Once we see some bubbles rising on top and the dough isn’t stuck down; we are safe to flip it over.
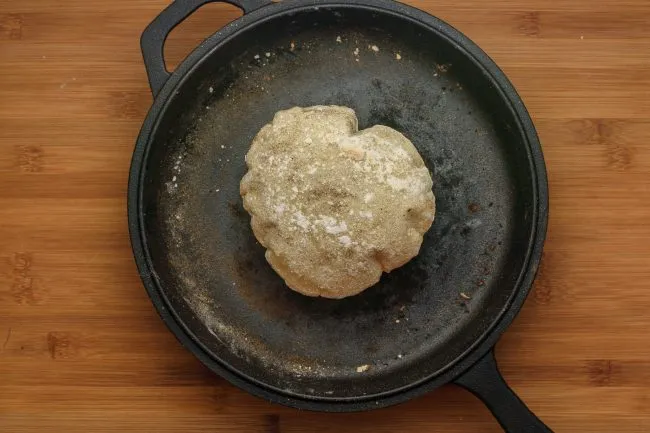
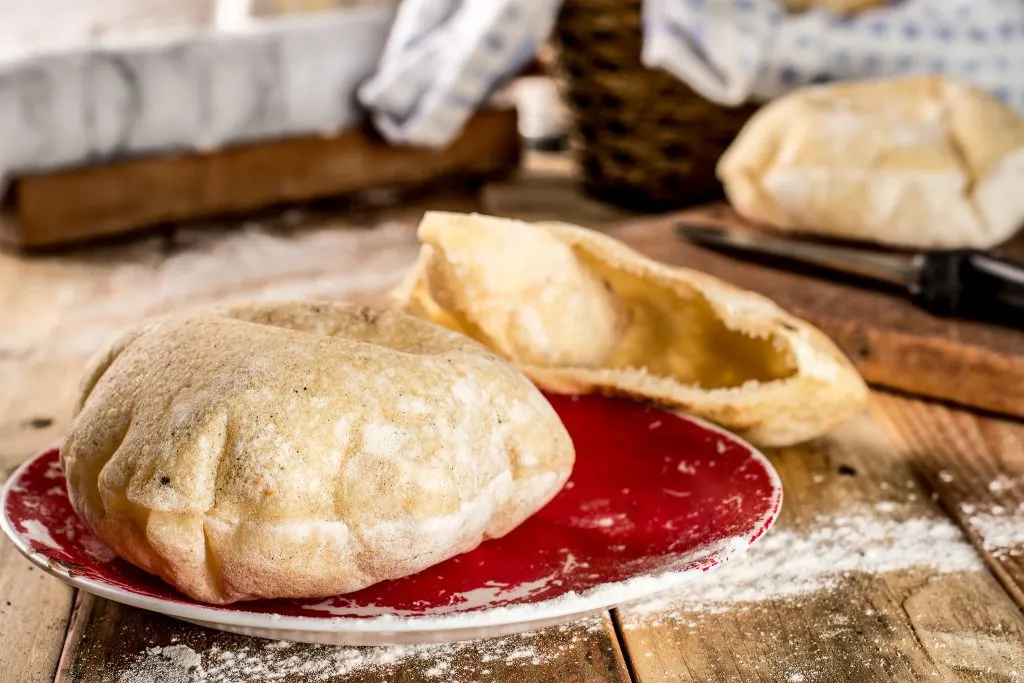
If we’ve done everything right, our pita should puff up in about a minute or less so, and ready to be filled up with whatever juicy deliciousness we have in mind or on the spikes.
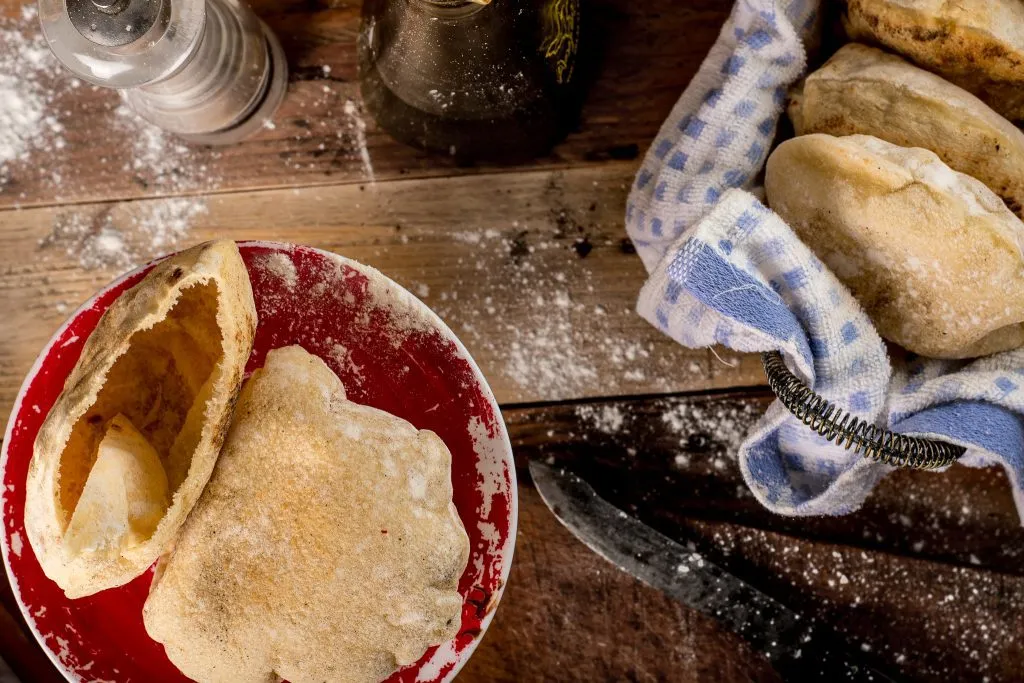
Ingredients
(20 pitas)
Starter dough
- ¾ cup / 100g Flour
- ½ cup / 100g Water
- 1g Fresh yeast
Pro tip: Make starter dough from equal parts of flour and water the night before to add a more complex flavor to the pita bread.
Pita dough
- 5 cups / 625g Flour
- ⅓ oz / 5g Fresh yeast
- 1 teaspoon / 5g Salt
- 2 tablespoons / 30g Olive oil
- 1⅓ cups / 300g Water
How to make Pita bread
Starter dough
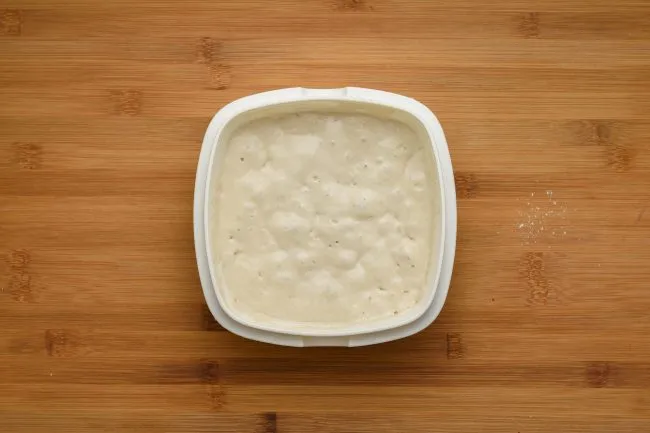
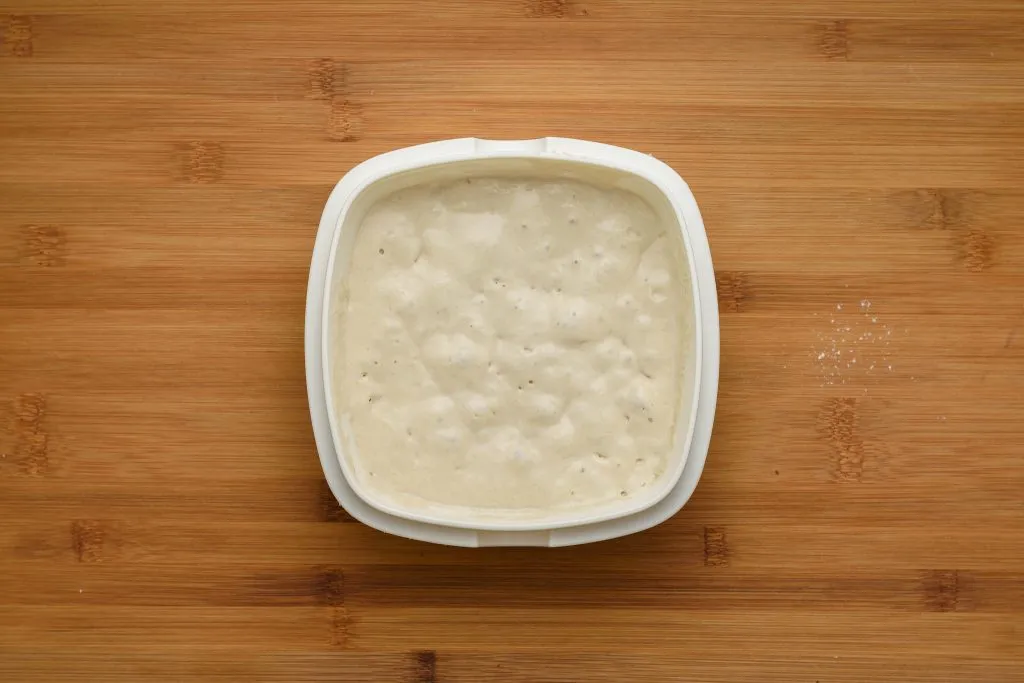
- Mix water, flour and a bit of fresh yeast in an airtight container. Close the lid and put it in the fridge for 6 hours. This step is optional and can be skipped entirely.
Pita dough
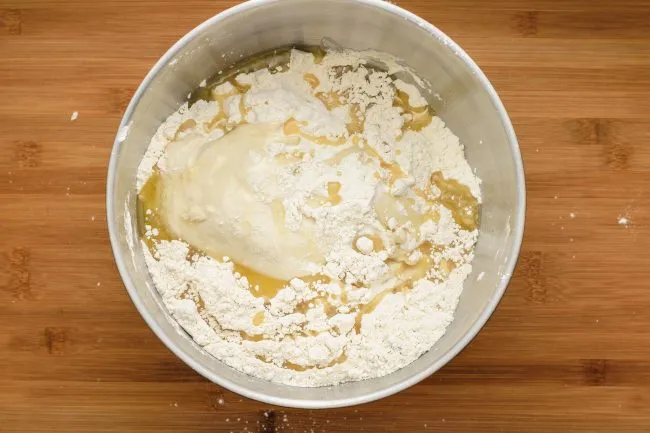
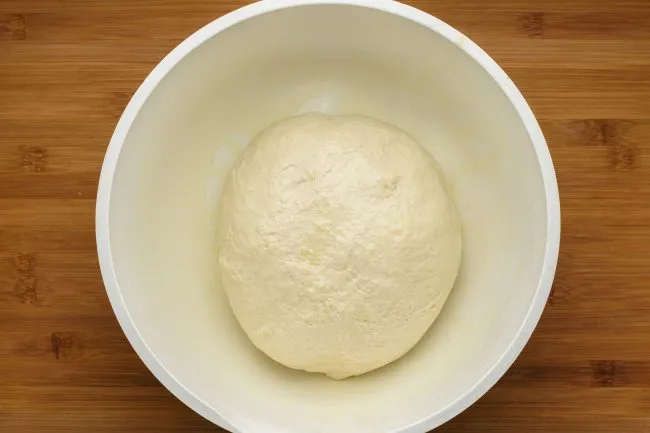
- Measure flour, yeast, salt, olive oil and water.
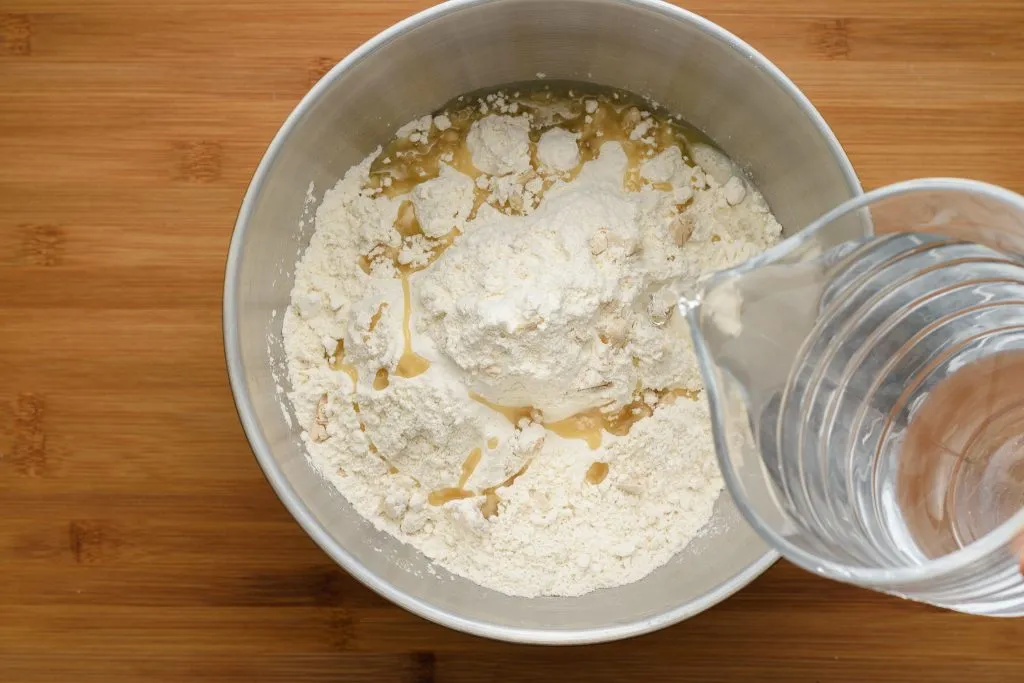
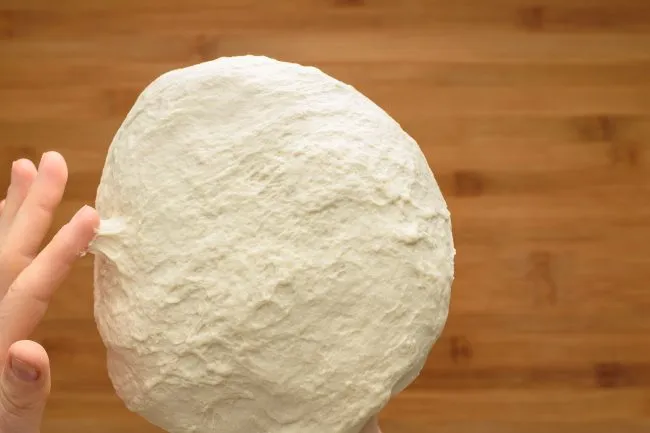
- Knead it together until a uniform dough forms. It can take over 15 minutes with a kneading machine. Lightly rub the dough with oil to prevent it from drying out.
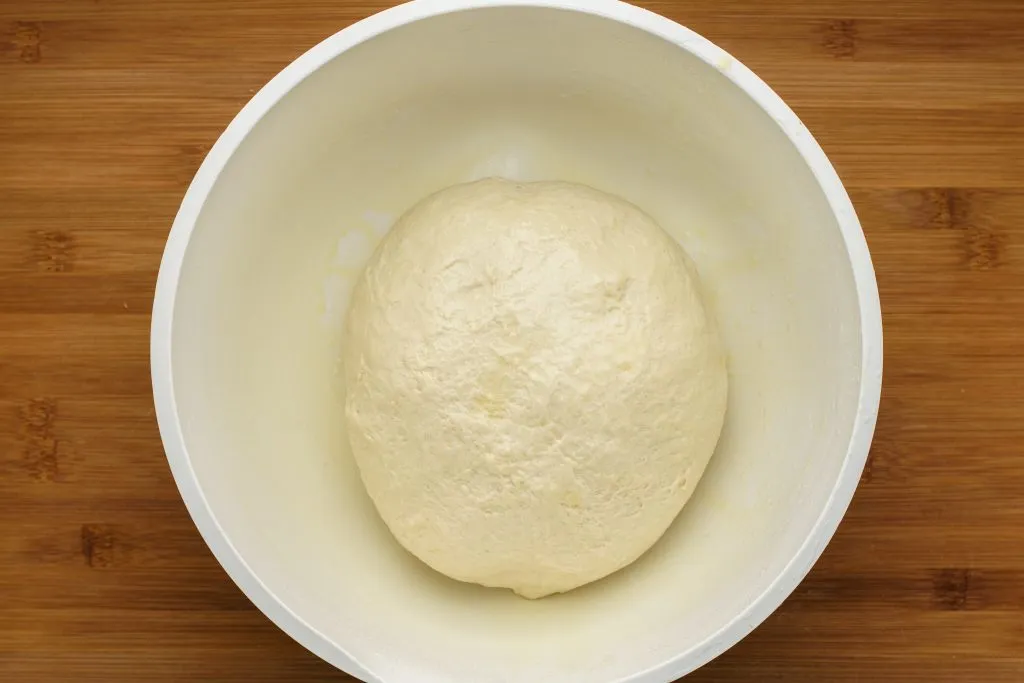
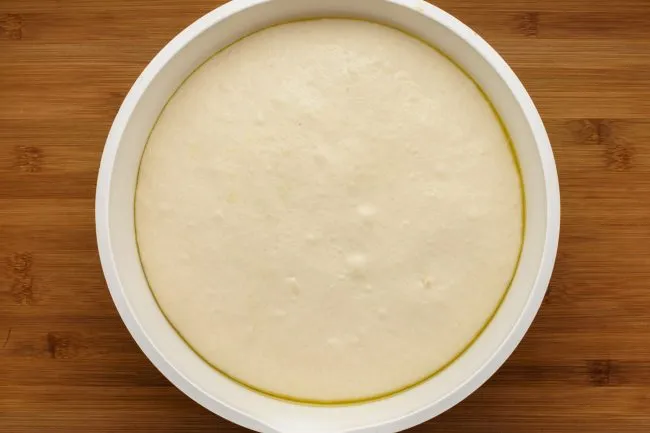
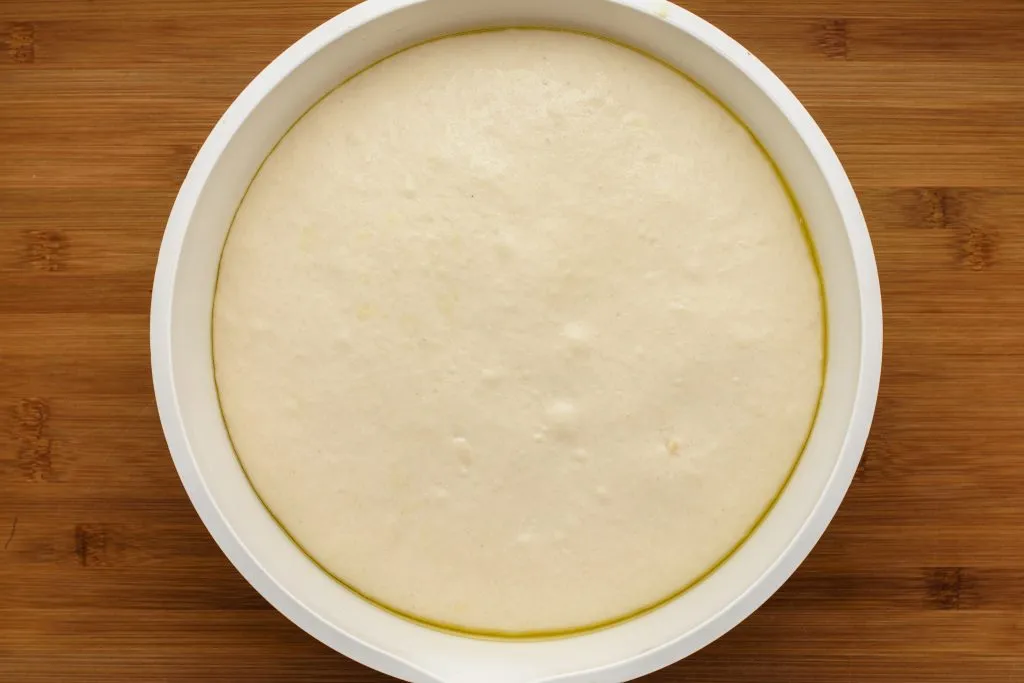
- Cover it then place it to a 68°F – 81°F /20°C – 27°C corner to rise, for about 45 – 90 minutes. With a bit of luck and right temperature, it will double in size.
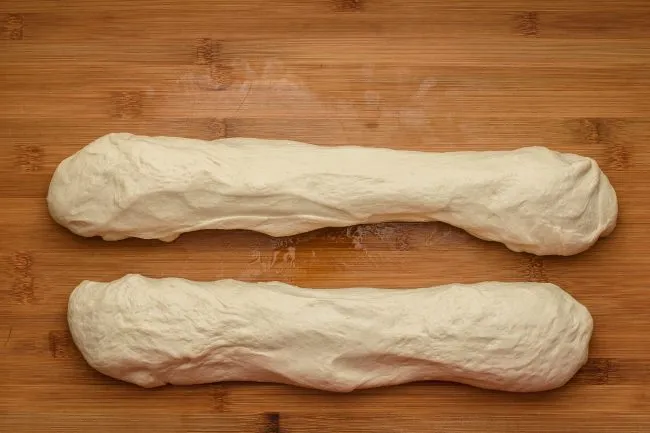
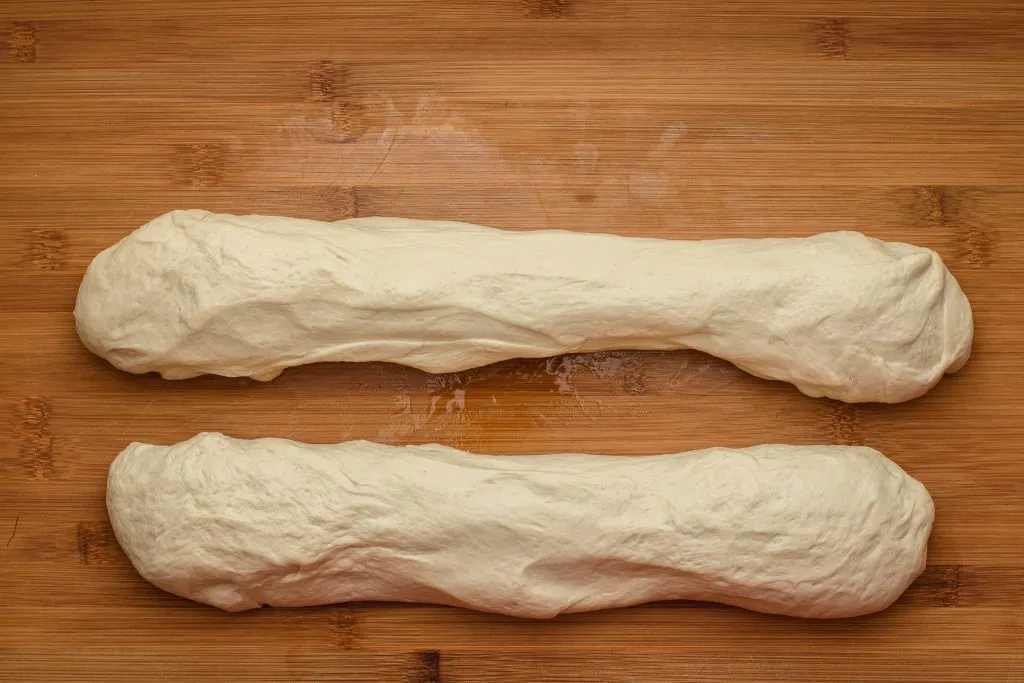
- Take the dough out, cut it in two pieces then gently form two logs out of them. Try not to press much air out of the dough. This step is only necessary to help us make similar pitas. If size is not important, this step can be skipped.
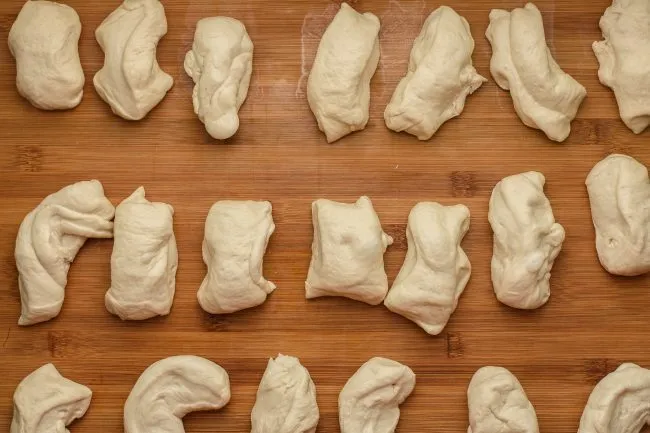
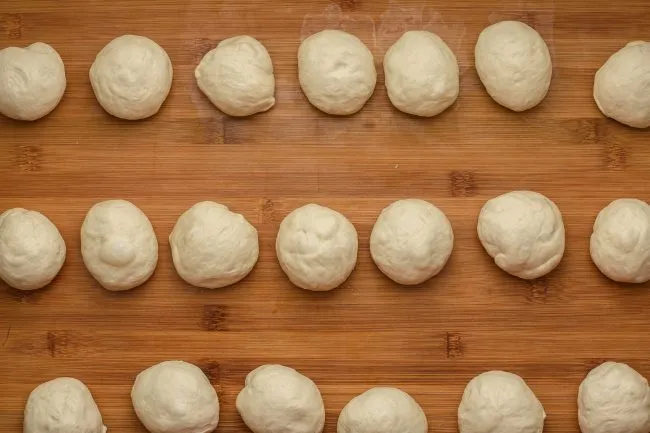
- Cut up the dough into equal pieces. Our favorite size is about 2 oz / 60g.
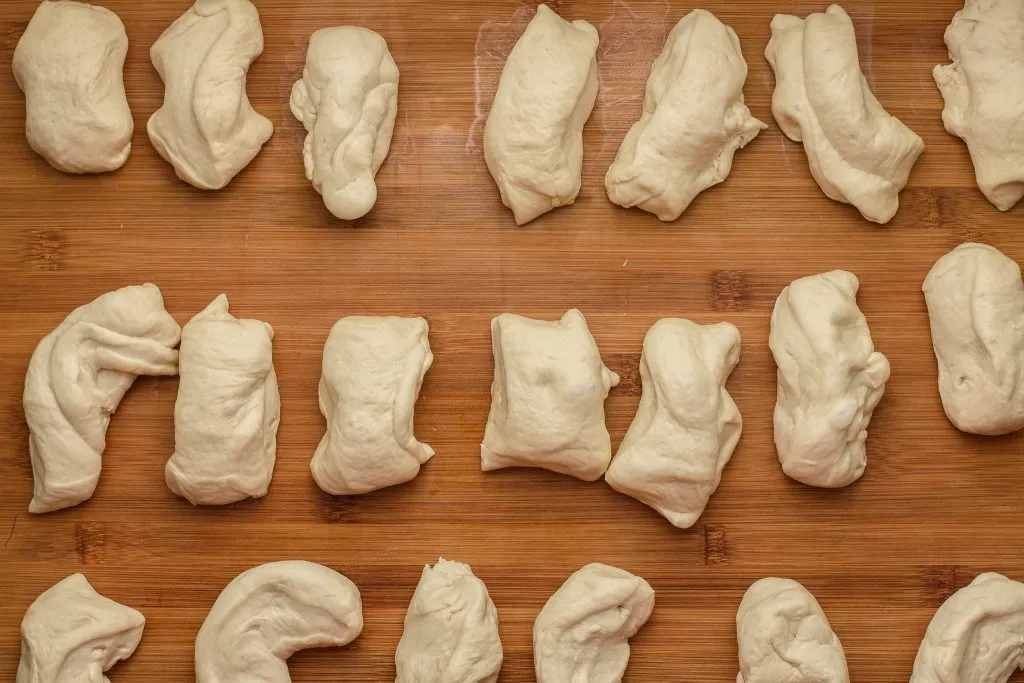
- Roll them gently into balls. In doubt how to roll the dough? Check out: How to roll bread roll No.1
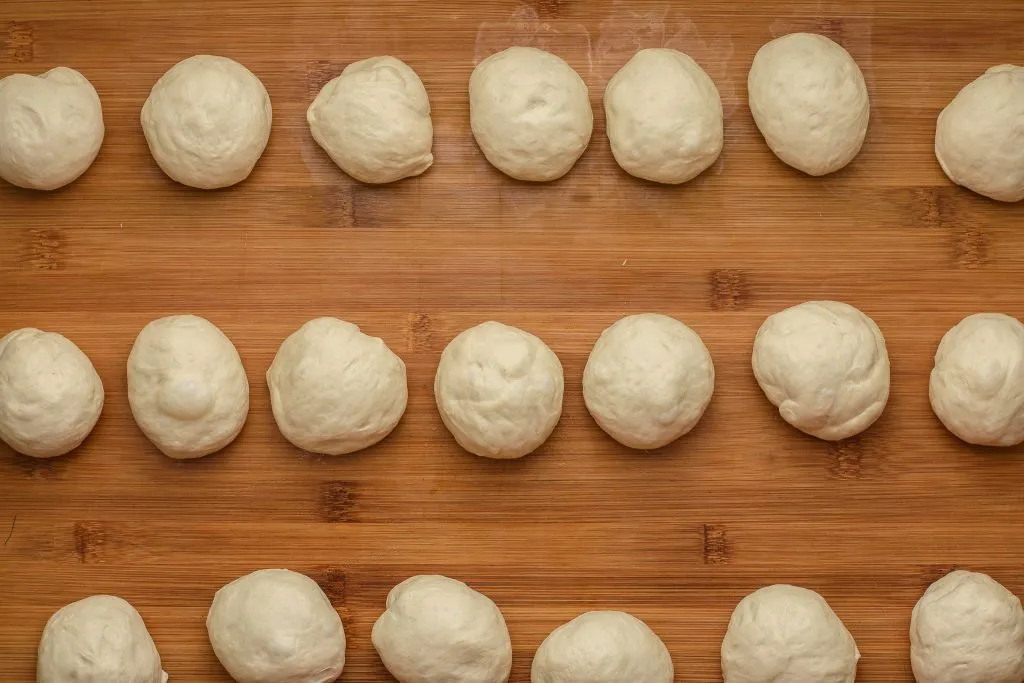
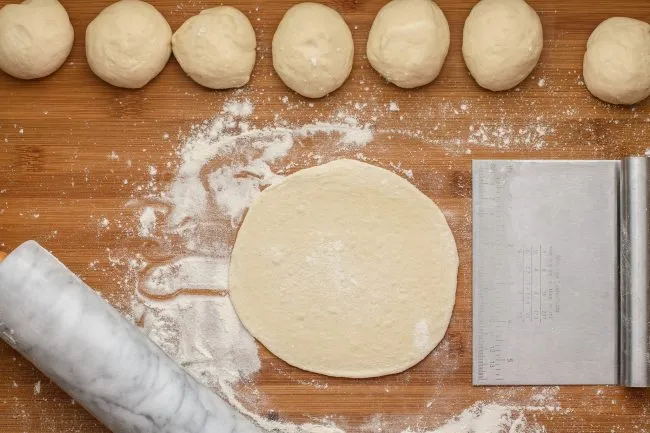
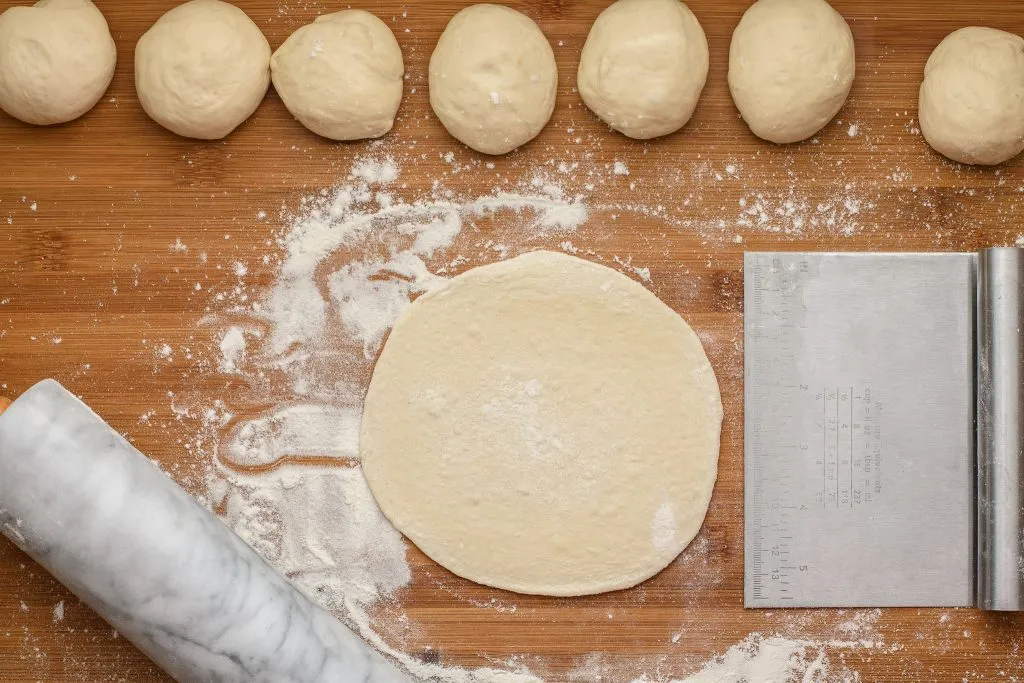
- On a heavily floured surface roll them out into 6″/ 14 cm diameter discs. Make sure they don’t stick while rolling them out.
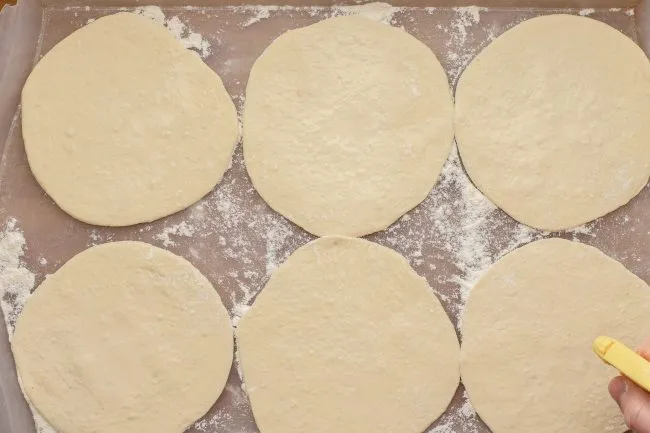
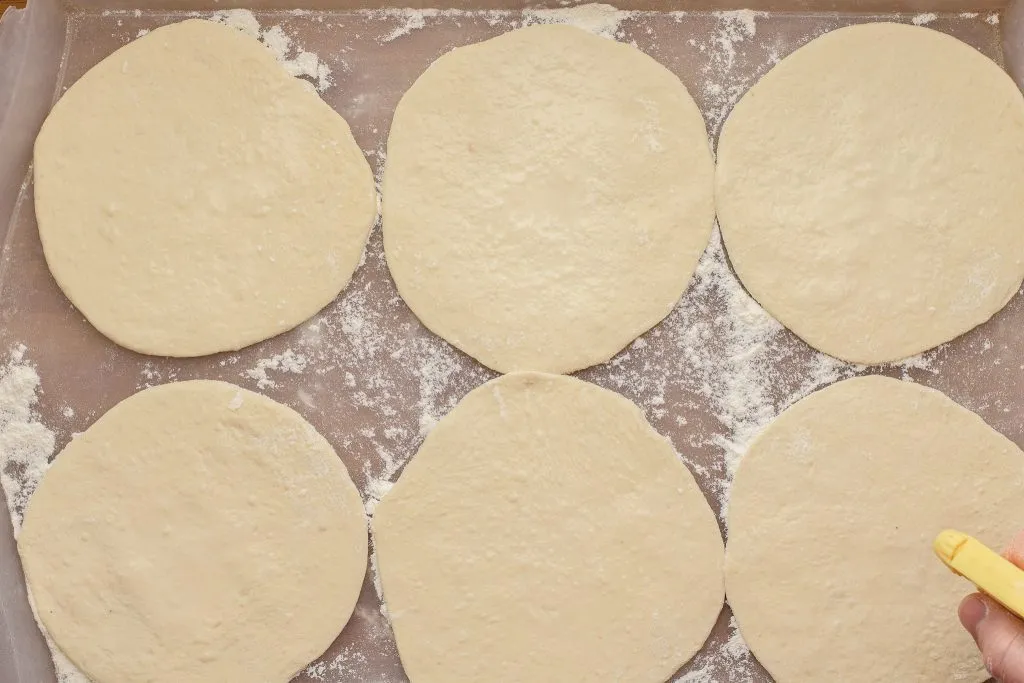
- Place the rolled out discs onto a floured surface. Optionally sprinkle some water on top to prevent them to dry out, cover them with a kitchen towel then place them to a 68°F – 81°F /20°C – 27°C corner to rise for 30 minutes.
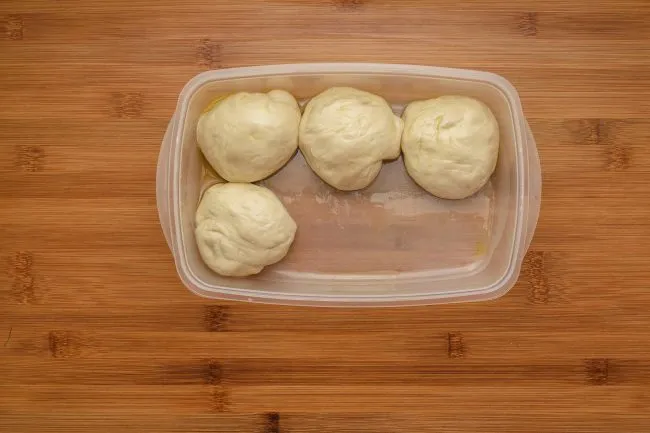
- Not many of us is capable to shovel down 20 pitas in a day. Rub oil on the unused dough and in an airtight container, put them into the fridge for another day.
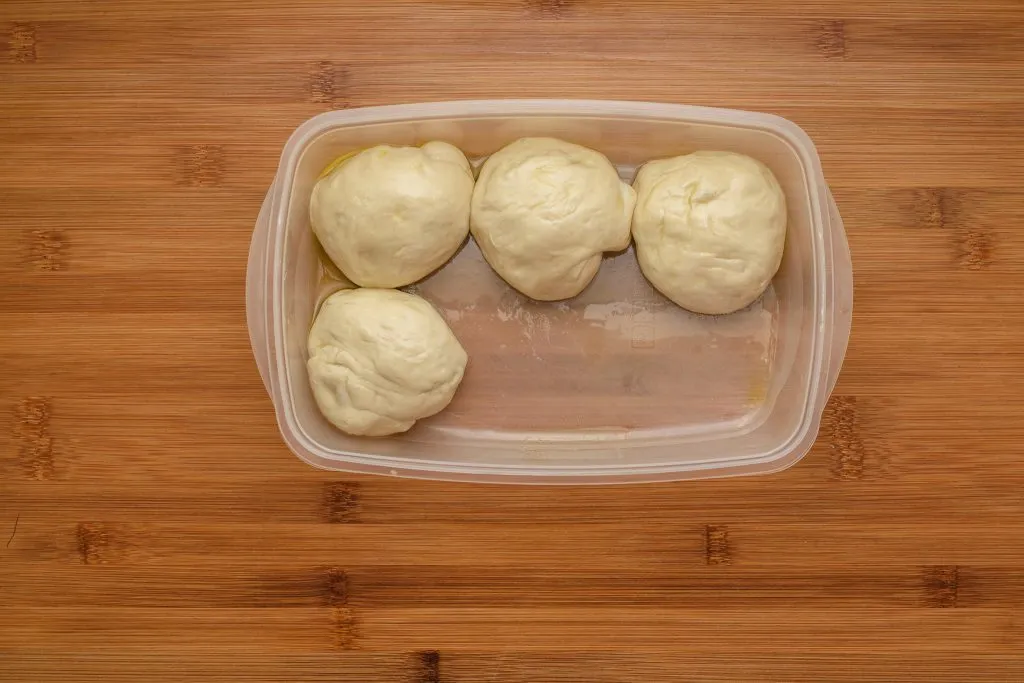
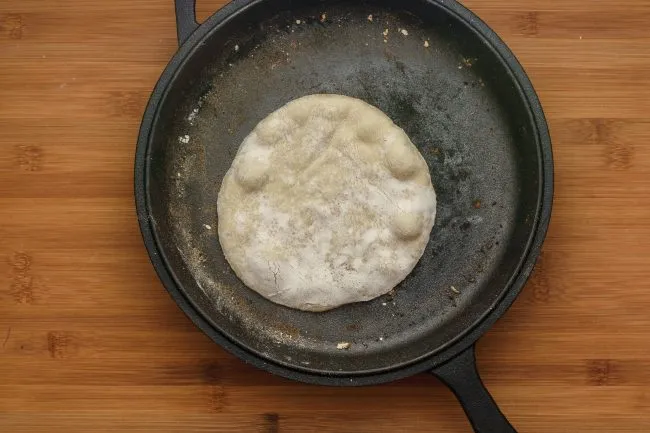
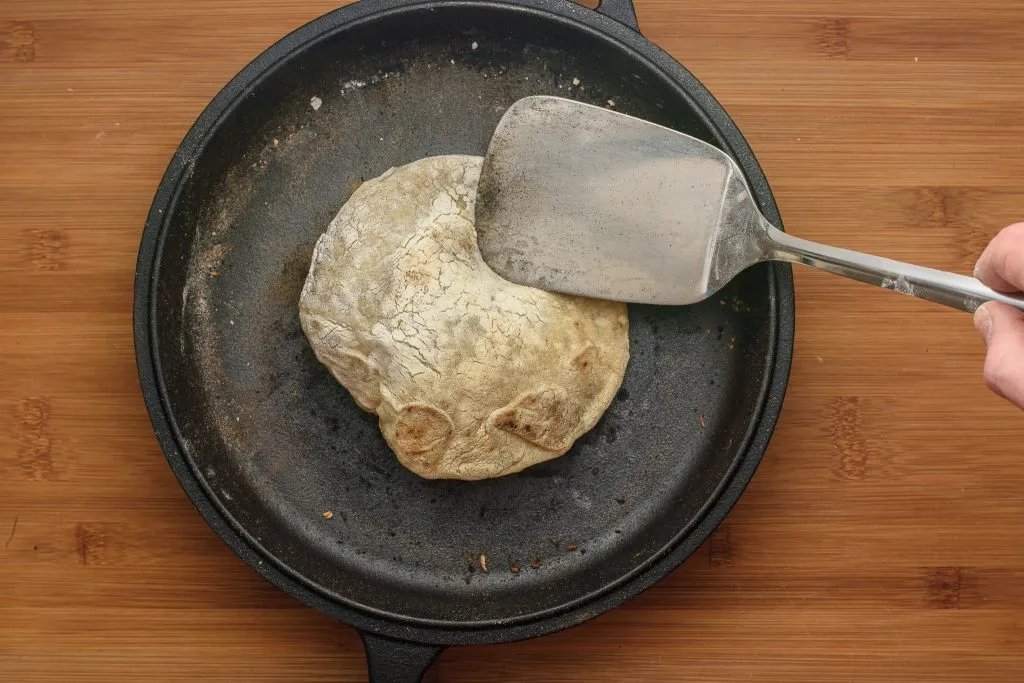
- Heat up a non-stick or even better cast iron skillet medium to high. Too high temperature will scorch the pita, creating holes where the water vapor can escape, instead of puffing up our pitas. Place the pita upside down onto the hot skillet. In about 30 – 60 seconds bubbles should appear on the top of the dough.
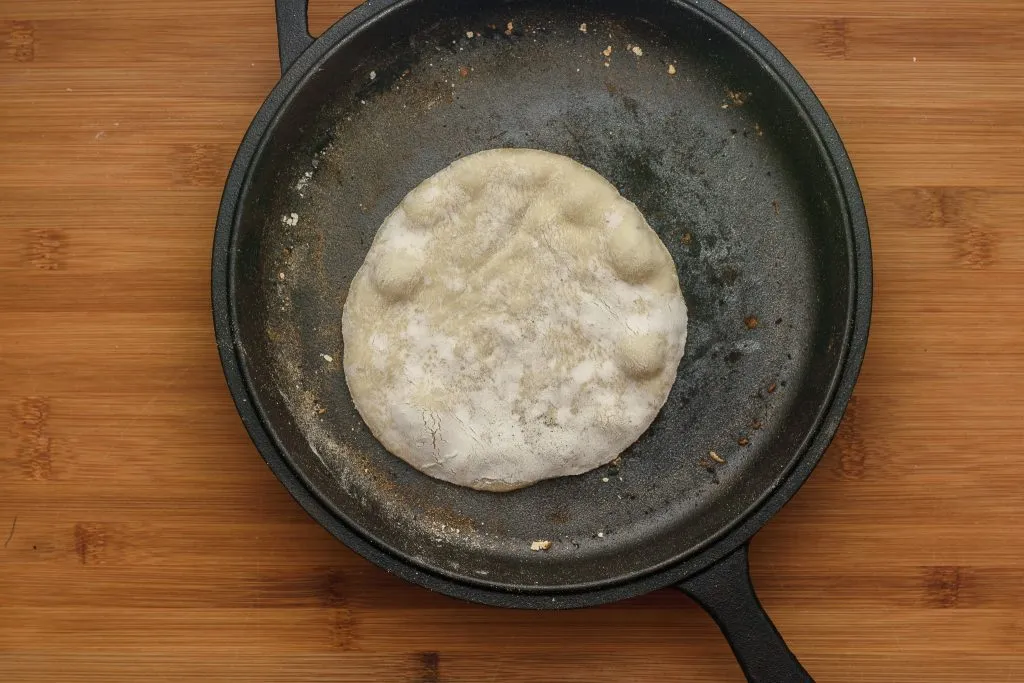
- We should be good to flip the pita over. If its burnt then lower the heat or flip it earlier next time. If we are in a hurry we can use higher temperature and more flipping to avoid burning.
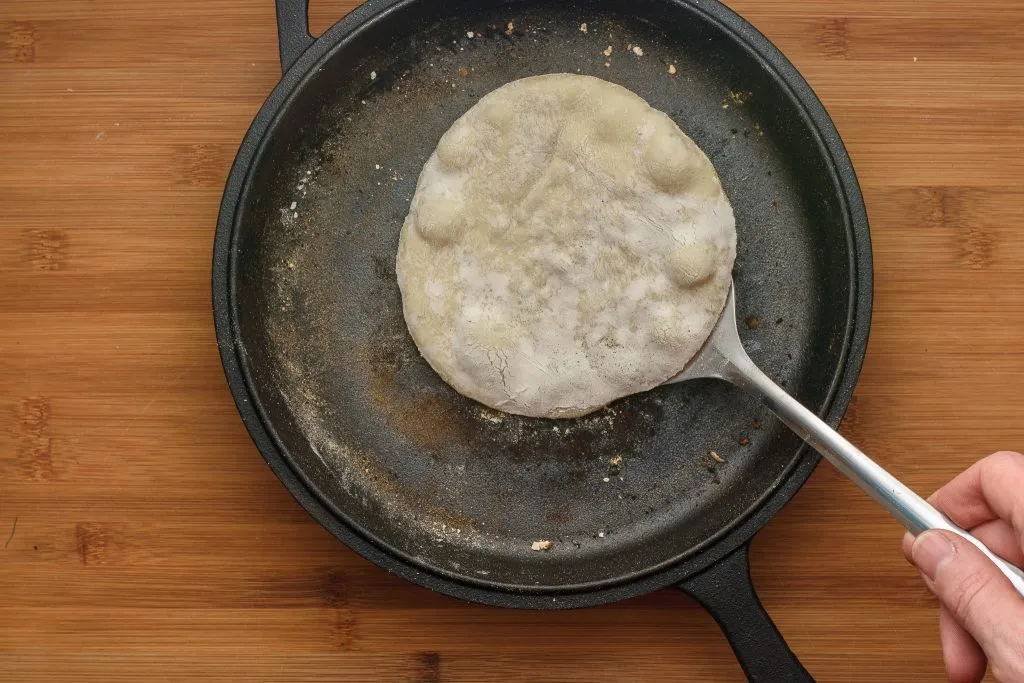
- With a bit of luck our dough should start puffing up in 1 – 2 minutes.
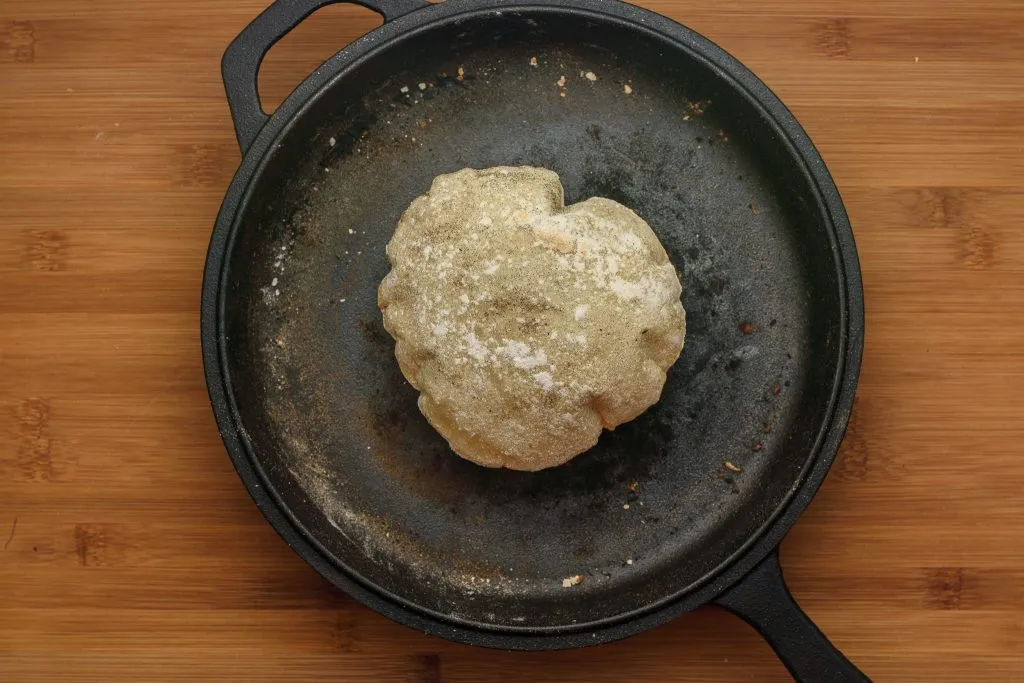
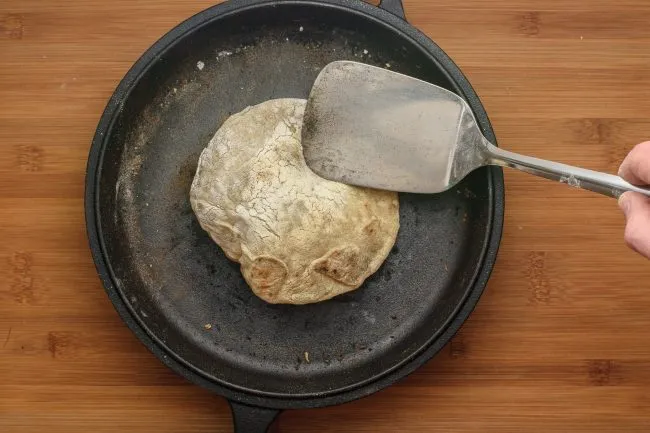
- If it doesn’t puff up, try to find the hole where the vapor escapes and pressing on it with the spatula. It won’t be perfectly round but it will be just as tasty as the others.
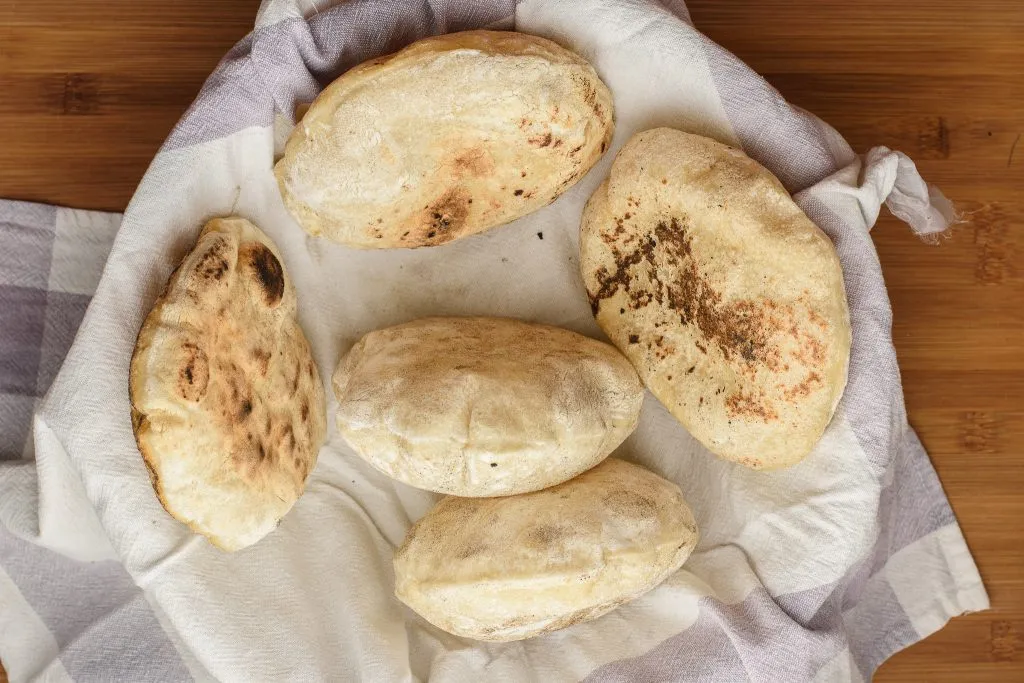
- Place the pitas under a kitchen towel until serving to prevent them from drying out.
Enjoy!

Star this recipe!
Pita Bread Recipe
Ingredients
Starter dough
- ¾ cup Flour
- ½ cup Water
- 1 g Fresh yeast
Pita dough
- 5 cups Flour
- ⅓ oz Fresh yeast
- 1 teaspoon Salt
- 2 tablespoons Olive oil
- 1⅓ cups Water
Instructions
Starter dough
- Mix water, flour and a bit of fresh yeast in an airtight container. Close the lid and put it in the fridge for 6 hours.
Pita dough
- Measure flour, yeast, salt, olive oil and water. Add dough starter too if used.
- Knead it together until a uniform sticky dough forms. We need to have a relatively moist somewhat sticky dough.
- Lightly rub the dough with oil to prevent it from drying out.
- Cover it then place it to a 68°F – 81°F /20°C – 27°C corner to rise for about 45 – 90 minutes. With a bit of luck and right temperature, it will double in size.
- Take the dough out, cut it in two then gently form two logs out of them. Try not to press much air out of the dough. This step is only necessary to help us make similar pitas. If size is not important, this step can be skipped.
- Cut up the dough into equal pieces. Our favorite size is about 2 oz / 60g.
- Roll them gently into balls. In doubt how to roll the dough? Check out: How to roll bread roll No.1
- On a heavily floured surface roll them out into 6″/ 14 cm diameter discs. Make sure they don’t stick while rolling them out.
- Place the rolled out discs onto a floured surface. Optionally sprinkle some water on top to prevent them to dry out, cover them with a kitchen towel then place them to a 68°F – 81°F /20°C – 27°C corner to rise for 30 minutes.
- Not many of us is capable to shovel down 20 pitas in a day. Rub oil on the unused dough and in an airtight container, put them into the fridge for another day.
- Heat up a non-stick or even better cast iron skillet medium to high. Too high temperature will scorch the pita creating holes where the water vapor can escape instead of puffing up our pitas. Place the pita upside down onto the hot skillet. In about 30 – 60 seconds bubbles should appear on the top of the dough.
- We should be good to flip the pita over. When we try to lift the pita with a spatula and feel resistance, carefully try to separate the dough from the skillet without tearing. Consider lowering the heat or sprinkling flour on top of the dough before flipping it into the skillet.
- With a bit of luck our dough should start puffing up in 1 – 2 minutes.
- If it doesn’t puff up, try to find the hole where the vapor escapes and pressing on it with the spatula. It won’t be perfectly round but it will be just as tasty as the others.
- Place the pitas under a kitchen towel until serving to prevent them from drying out.
Notes
Nutrition
Pin now, Enjoy later!
