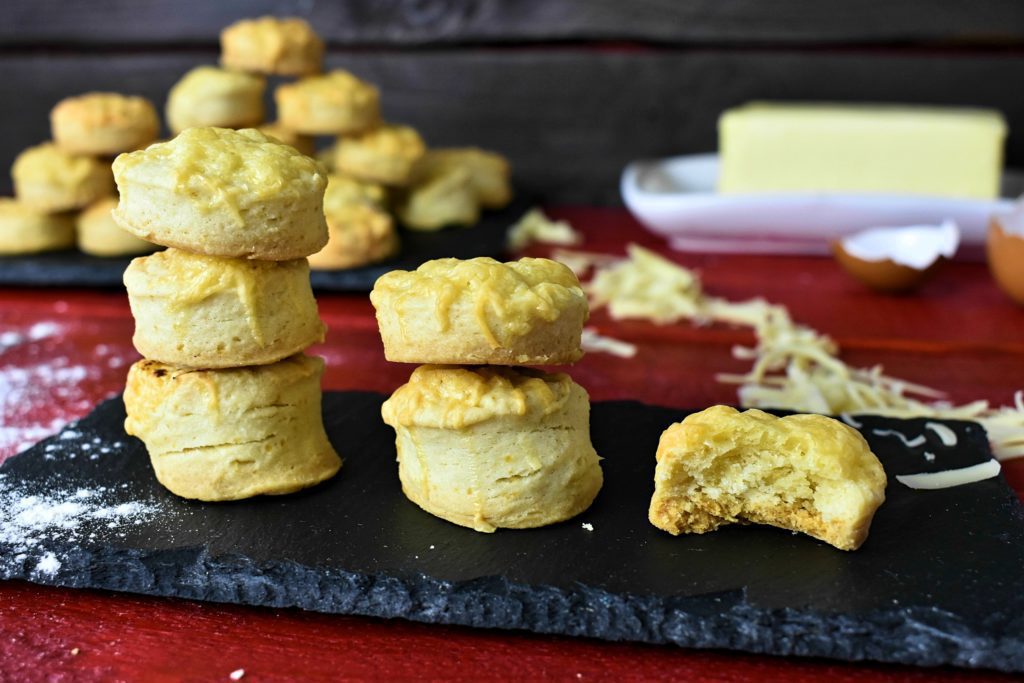
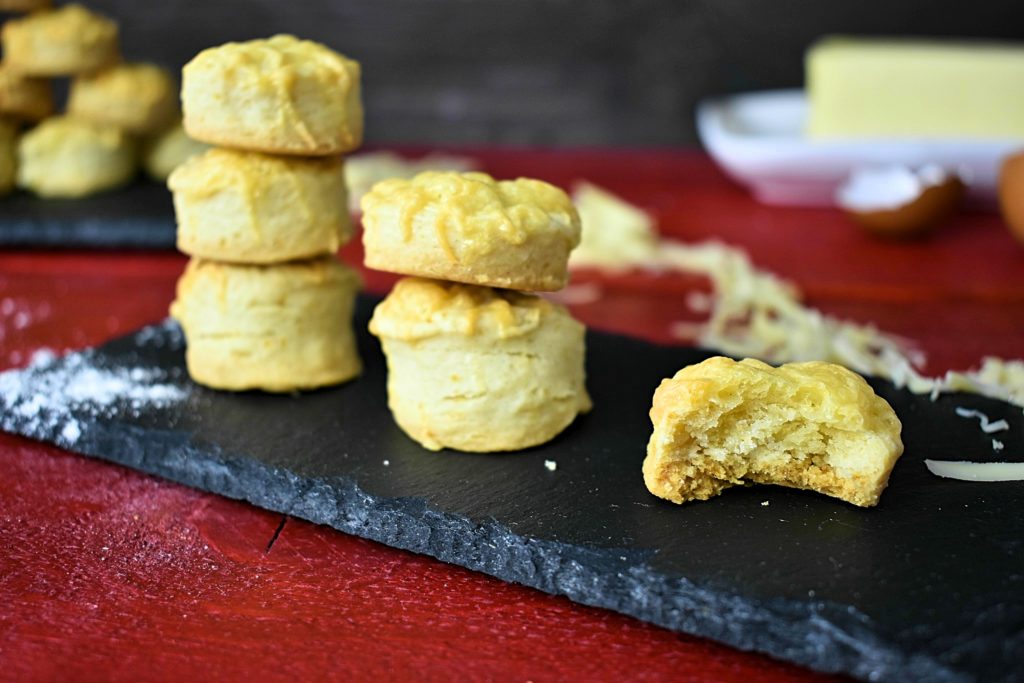
Uninvited guests or just a forgotten game night? Look no further this easy cheese biscuit recipe has the answer!

Biscuits are an immensely wide variety of baked goods that can be found all around the world thus making it fairly hard for us to pin point a recipe that would be the cornerstone of our baking. Luckily the recipes aren’t utterly different in cheese biscuit ingredients than in preparation techniques. The common ingredients are butter, flour, baking powder, salt and of course cheese.
The small differences lie in preparation methods like using fresh yeast, or cooking types like frying on a stove top or baking in the oven. Naturally, swapping ingredients or adding extra goodies are the most common modification in the biscuit family. Very few have tried messing with the round shape although some has seen rectangular or hexagonal shaped biscuits probably attributed to space saving measures.
There are big and sweet dried fruit filled varieties and sure enough there are meat filled mini cheese biscuits. Both of them have place in out cookbook as different occasions demand alternative options. Probably we shouldn’t offer raisins and walnut filled biscuits with beer on a game night although it would go nicely with some sweet wine and cheese party.
When we are preparing cheese biscuits with plain flour there are more texture options to choose from than with alternative baking methods. Gluten is our friend when we are after sponginess so don’t hesitate to use it’s strength when need arises. The Light and fluffy cheese biscuits are going to be everyone’s favorite once they sunk their teeth into them.
Unfortunately, airy baked goods take their time tough. When we are short of it and can’t afford losing even a minute let alone an hour then it doesn’t matter much what flour we cook from. As we are going to use baking powder and rely on it’s power to rise the dough a bit. Hence we can use gluten free flours or low carb flours for our cheese biscuit without hesitation in case it’s necessary.
This cheese biscuit recipe with plain flour uses no fancy ingredients whatsoever. It tries to maintain the most essential steps and leaving out parts that are not deemed lethal for its well being. Like buttering the pastry and folding it a couple of times to get fancy layers or using fresh yeast and let it rest for an hour.
We keep this as simple and quick as possible but if we have a tad bit more time and affinity then there is always an option to butter and fold it a couple of times. Sure enough then we have to flatten the dough a bit wider and longer otherwise we end up with too tall biscuits that may slide apart when the baking powder and butter do their thing in the oven.
The cheese can be of any sort as long as it’s not soft cheese and we are able to shred it. Mixing up two or more is even better an idea. Gouda and Edam are great choices with a bit of Gran Padano or Parmesan to crown the moment. It can also be prepared instead of cheese with a bit of salt only.
Going cheeseless opens up possibilities to serve the biscuits as a type of bread next to stews and meats too. Not as it couldn’t be done with cheese on top but a strong cheese could ruin a perfectly balanced meal so opting for the dairy free option would probably be a safer choice.
These biscuits are best when fresh but can be kept for months when left on some place to dry out properly. It will be hard as rock but still edible. If it is placed into an airtight container it remains soft for a couple of days but at the end it may develop some mold. Best not to plan so far ahead and eat them up until fresh.
Ingredients
Dough
- 4 cups / 500g Flour
- 1 teaspoon / 5g Salt
- 1½ cups / 350g Buttermilk
- 3 tablespoons / 50g Butter (cold, sliced)
- 4 teaspoons / 15g Baking powder
- ½ teaspoon / 3g Baking soda
Topping
- 4oz / 90g Grated cheese (We love Gouda and Edam)
How to make cheese biscuits
- Knead flour, salt and buttermilk together until a uniform texture forms, about 5 minutes.

- Stretch the dough open then sprinkle in the baking powder and baking soda.

- Knead until the powders are distributed evenly, about 1 minute.

- Knead in the sliced cold butter, just long enough to distribute the butter but not long enough to raise the temperature of the dough and melt the butter, about 1 minute.

- Roll the dough out on a well floured surface. Spread a very thin layer of flour on top.

- Fold the dough into thirds from the sides. Spread a

- Fold the dough into thirds from top and bottom too.

- Knead flour, salt and buttermilk together until a uniform texture forms, about 5 minutes.
- Roll the dough out again. Repeat the folding from the sides and top, bottom.

- Roll the dough out into ½” / 1.25cm thick. Don’t forget to flour the working surface before each rolling out otherwise the dough will most likely stick down.

- Cut the biscuits out with a cookie cutter or simply make rectangles with a knife. Flour the cookie cutter before each cut so it will be easier to remove the dough.

- Rework the dough cuttings into a new sheet and cut them out too.

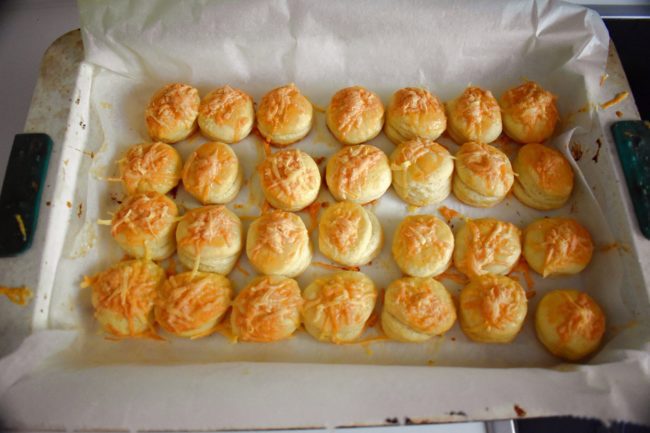
- Place the cut out dough onto a parchment paper laid baking sheet. Packing them tight will support their side while raising upwards. If we’ve done things right, we may already see some air bubble forming under the surface of the dough from the chemical reaction of the baking soda and buttermilk.

- Brush the top with buttermilk. It gives gloss and brownness.

- Add cheese on top. Skipping this step simply makes Buttermilk Biscuits.

- Place the buttermilk biscuits into the middle rack of a 425°F/220°C oven until the inner temperature reaches 190°F / 88°C and the top gets a golden brown color, which should happen in 10 -15 minutes.

Enjoy!


Star this recipe!
Easy Cheese Biscuit Recipe
Ingredients
Dough
- 4 cups Flour
- 1 teaspoon Salt
- 1½ cups Buttermilk
- 3 tablespoons Butter cold, sliced
- 4 teaspoons Baking powder
- ½ teaspoon Baking soda
Topping
- 4 oz Grated cheese We love Gouda and Edam
Instructions
- Knead flour, salt and buttermilk together until a uniform texture forms, about 5 minutes.

- Stretch the dough open then sprinkle in the baking powder and baking soda.

- Knead until the powders are distributed evenly, about 1 minute.

- Knead in the sliced cold butter, just long enough to distribute the butter but not long enough to raise the temperature of the dough and melt the butter, about 1 minute.

- Roll the dough out on a well floured surface.

- Fold the dough into thirds from the sides.

- Fold the dough into thirds from top and bottom too.

- Roll the dough out again. Repeat the folding from the sides and top, bottom.

- Roll the dough out into ½" / 1.25cm thick. Don't forget to flour the working surface before each rolling out otherwise the dough will most likely stick down.

- Cut the biscuits out with a cookie cutter or simply make rectangles with a knife. Flour the cookie cutter before each cut so it will be easier to remove the dough.

- Rework the dough cuttings into a new sheet and cut them out too.

- Place the cut out dough onto a parchment paper laid baking sheet. Packing them tight will support their side while raising upwards. If we've done things right, we may already see some air bubble forming under the surface of the dough from the chemical reaction of the baking soda and buttermilk.

- Brush the top with buttermilk. It gives gloss and brownness.

- Add cheese on top.

- Place the buttermilk biscuits into the middle rack of a 425°F/220°C oven until the inner temperature reaches 190°F / 88°C and the top gets a golden brown color, which should happen in 10 -15 minutes.

Notes
Pin now, Enjoy later!


It’s much easier than the fluffy ones but equally delicious!
A bit less fluffy and a bit easier as well. Still like scones!